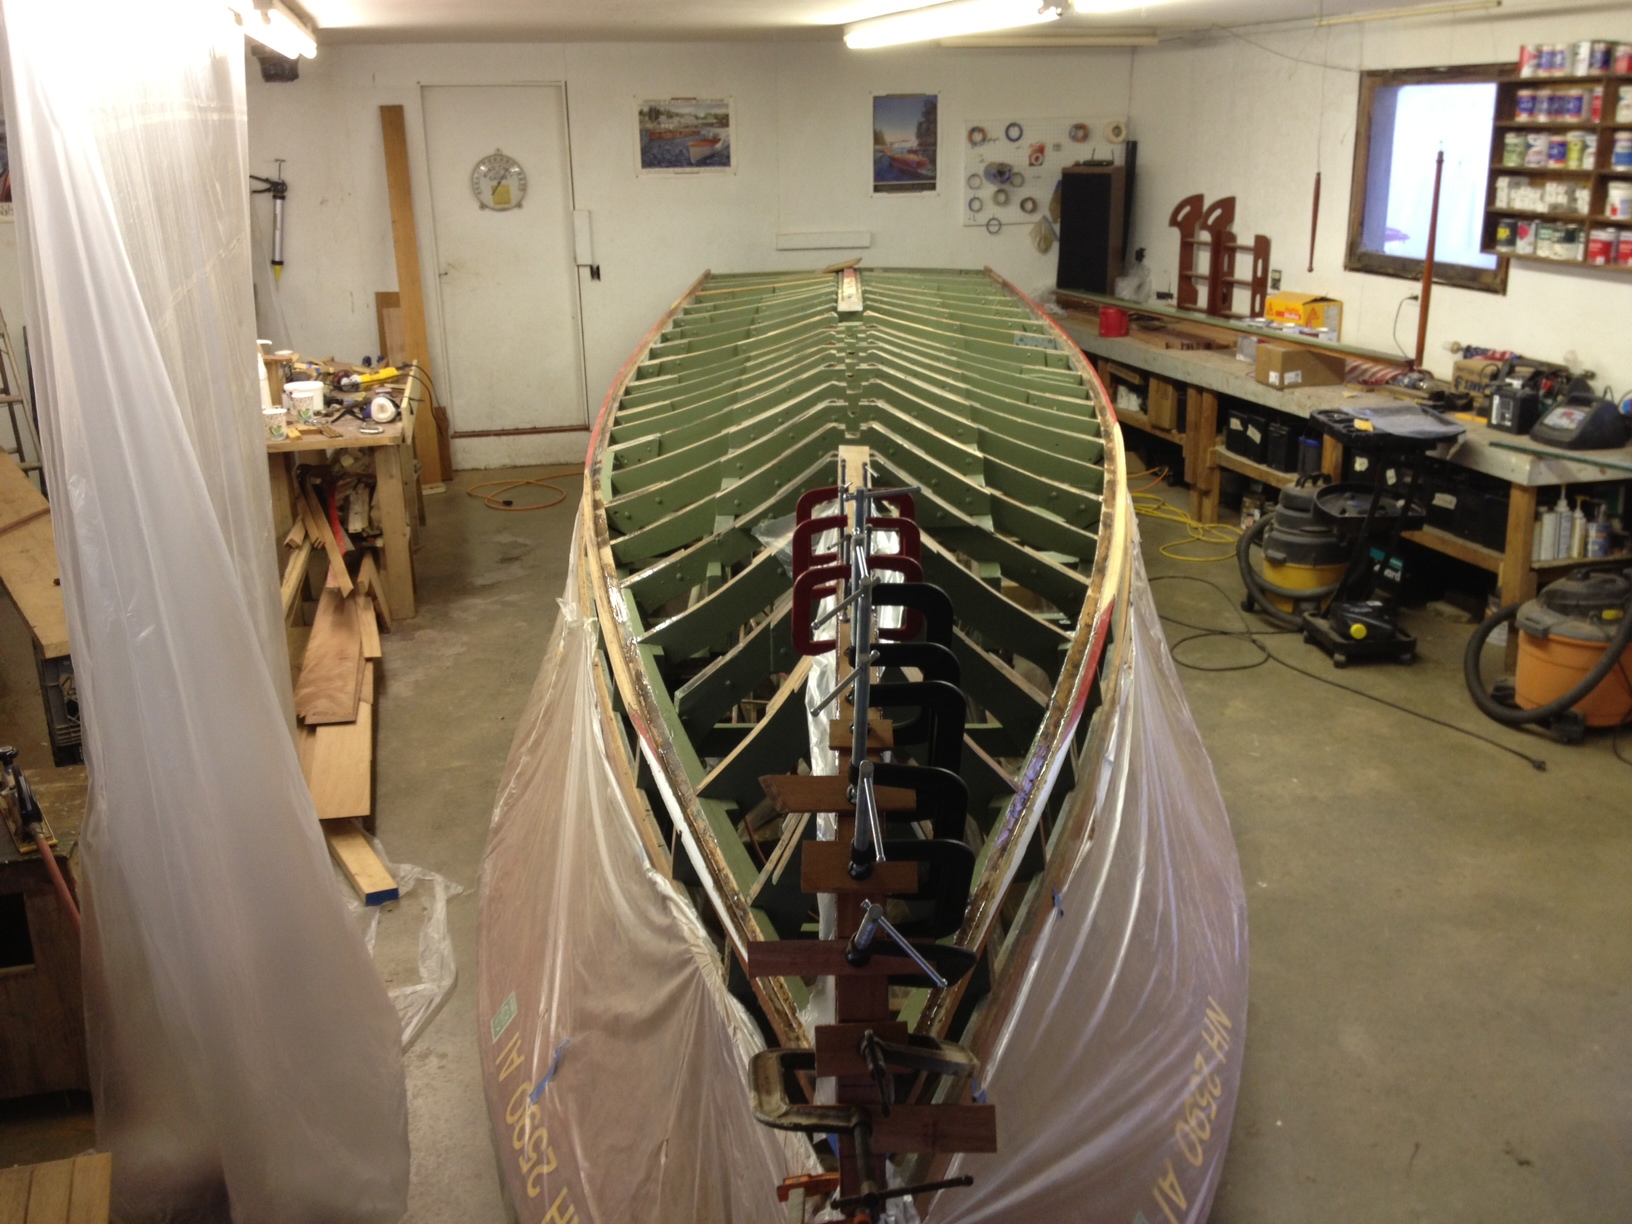
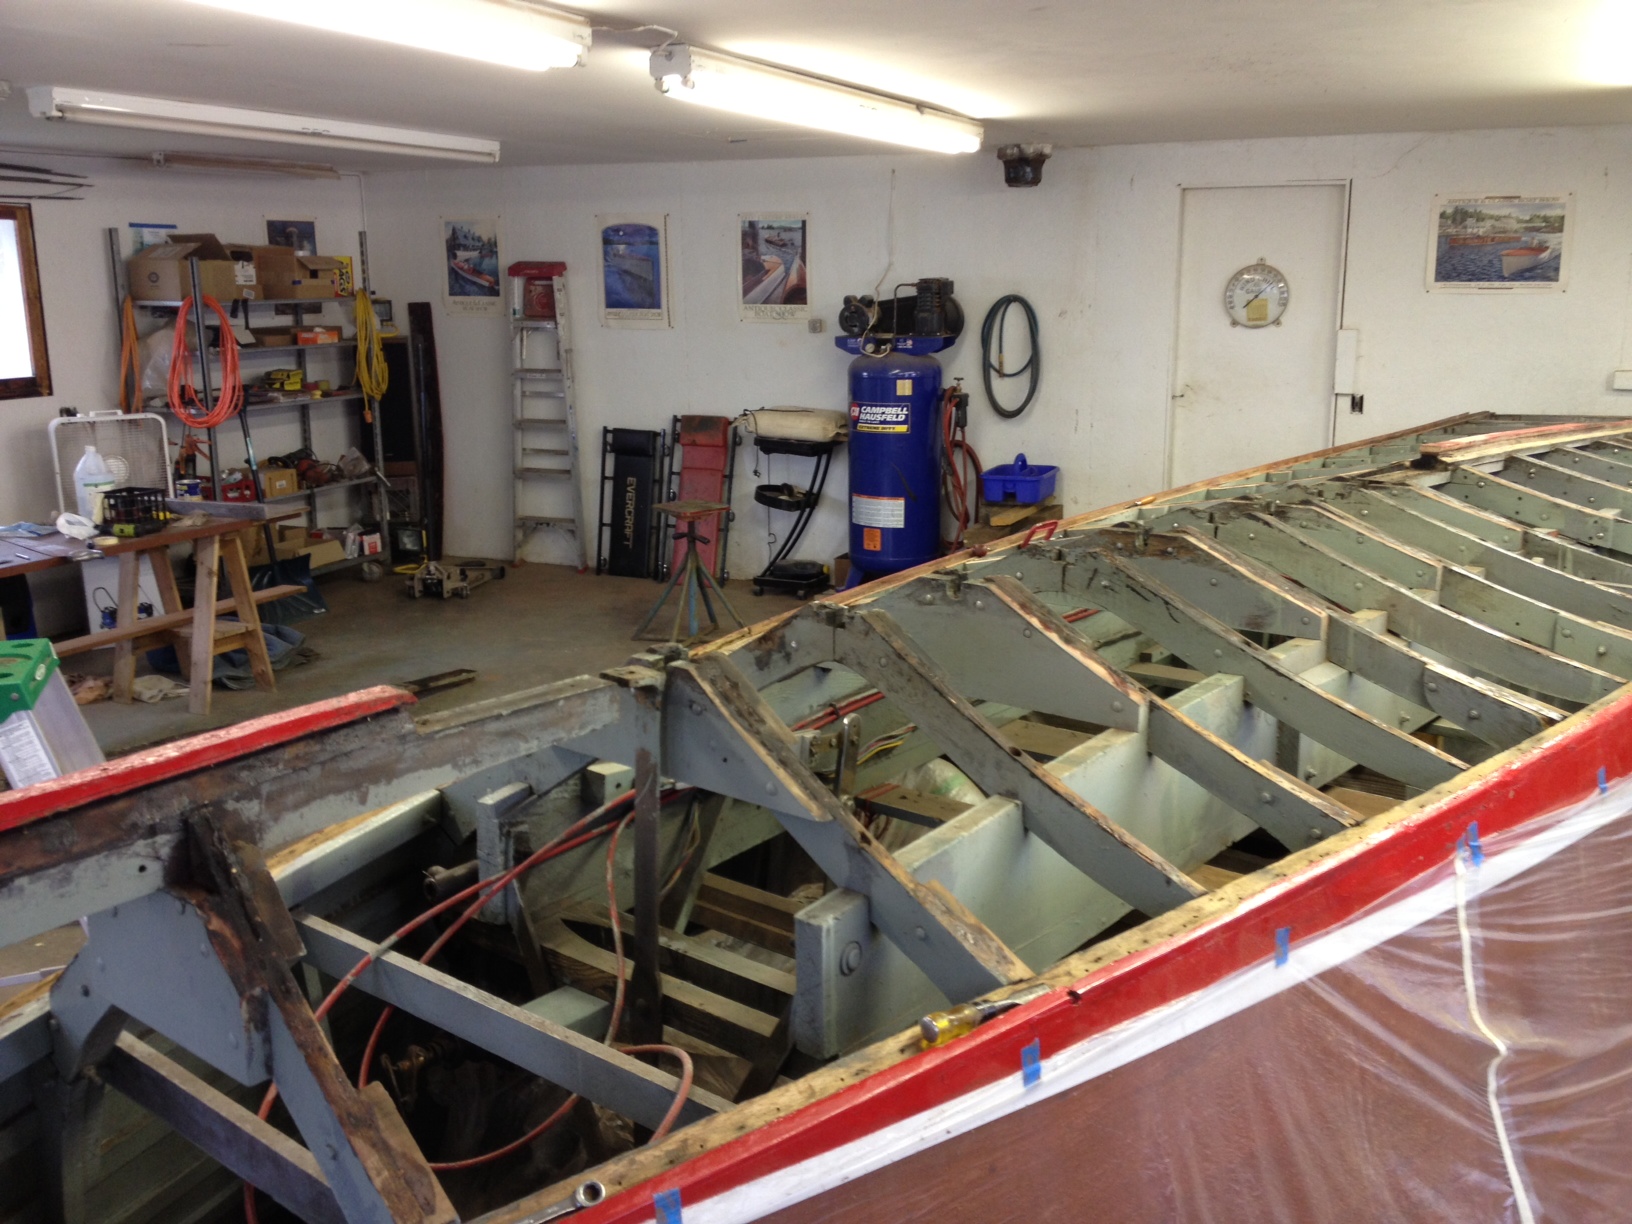
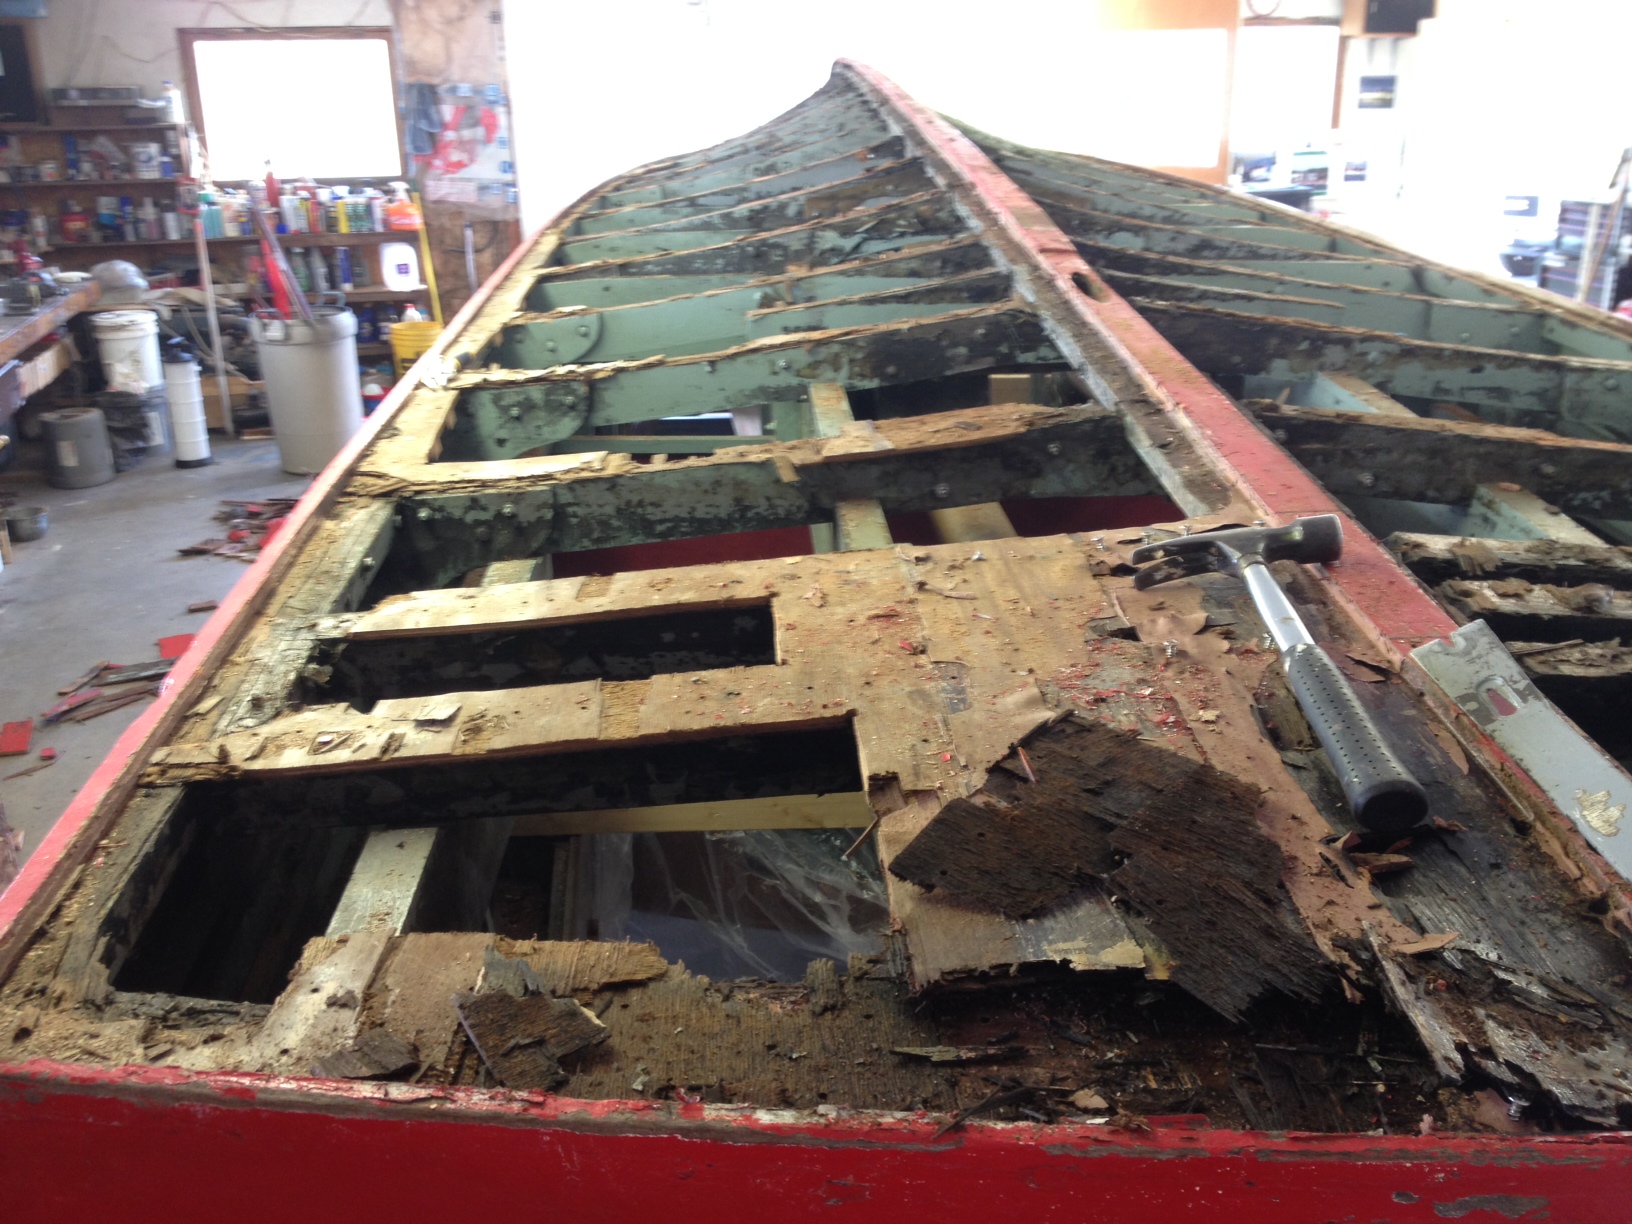
My Fair Lady came to us after having sunk to the bottom in shallow water. We inspected the bottom and determined it had problems in many areas, it was beyond repair and needed to be replaced entirely. The boat has been in the family since shortly after it was made, and has been on Lake Winnipesaukee its entire life. The family is very attached to the boat, we decided to move forward with a new “enhanced traditional” bottom. The inner layer would be 1/4″ solid mahogany, a layer of Dynel cloth would be laid up with resin next, followed by 1/2″ mahogany planks.
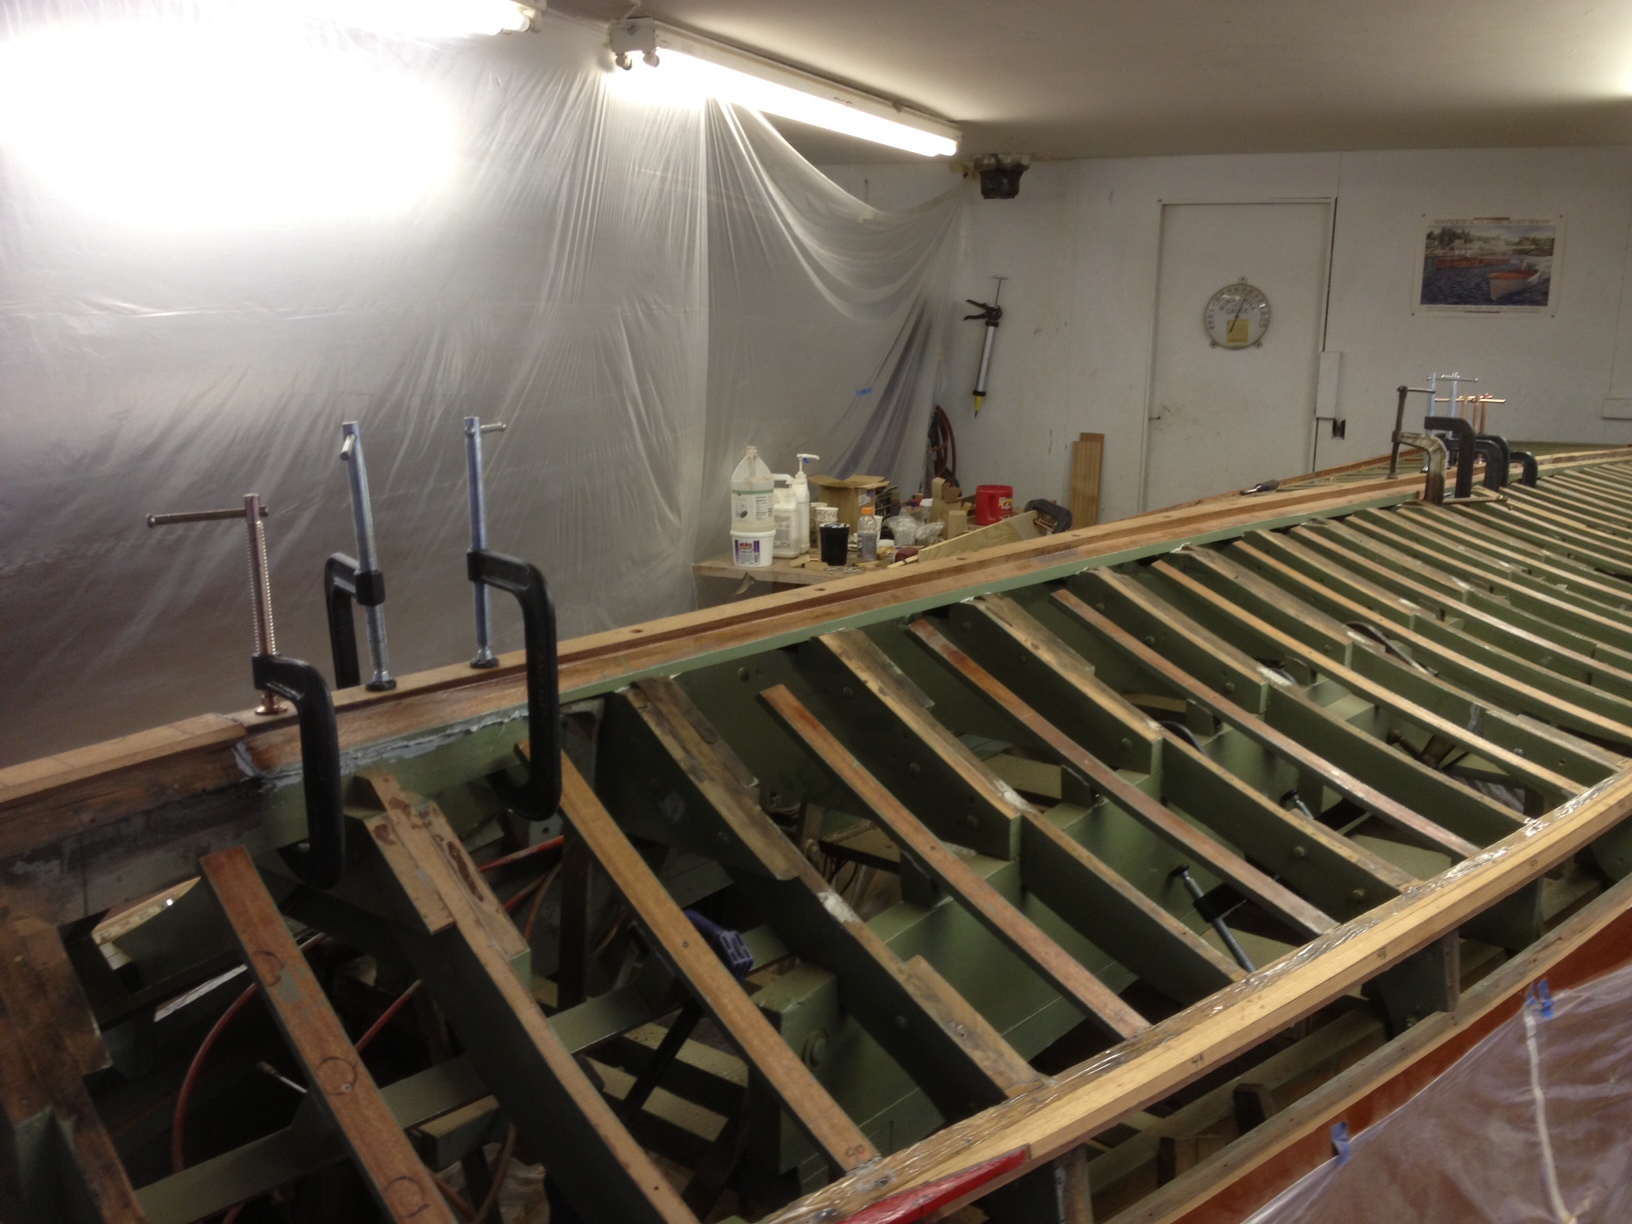
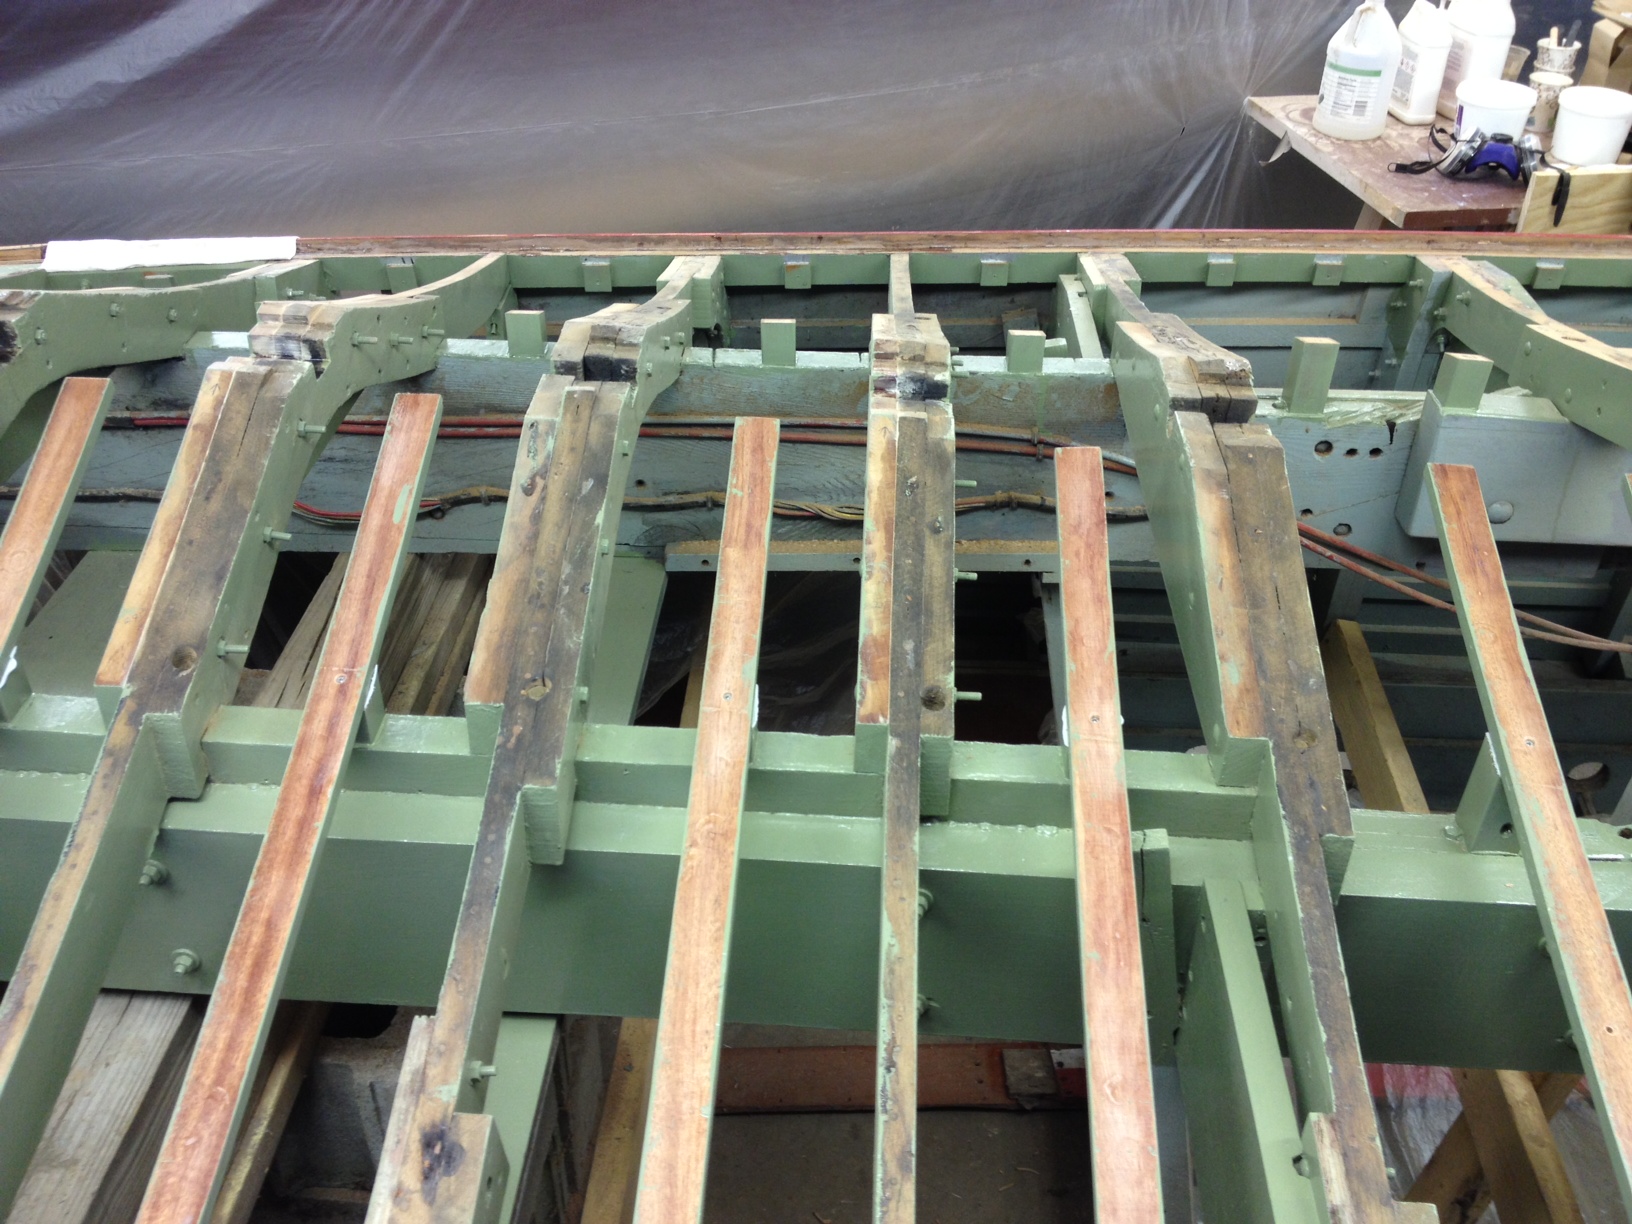
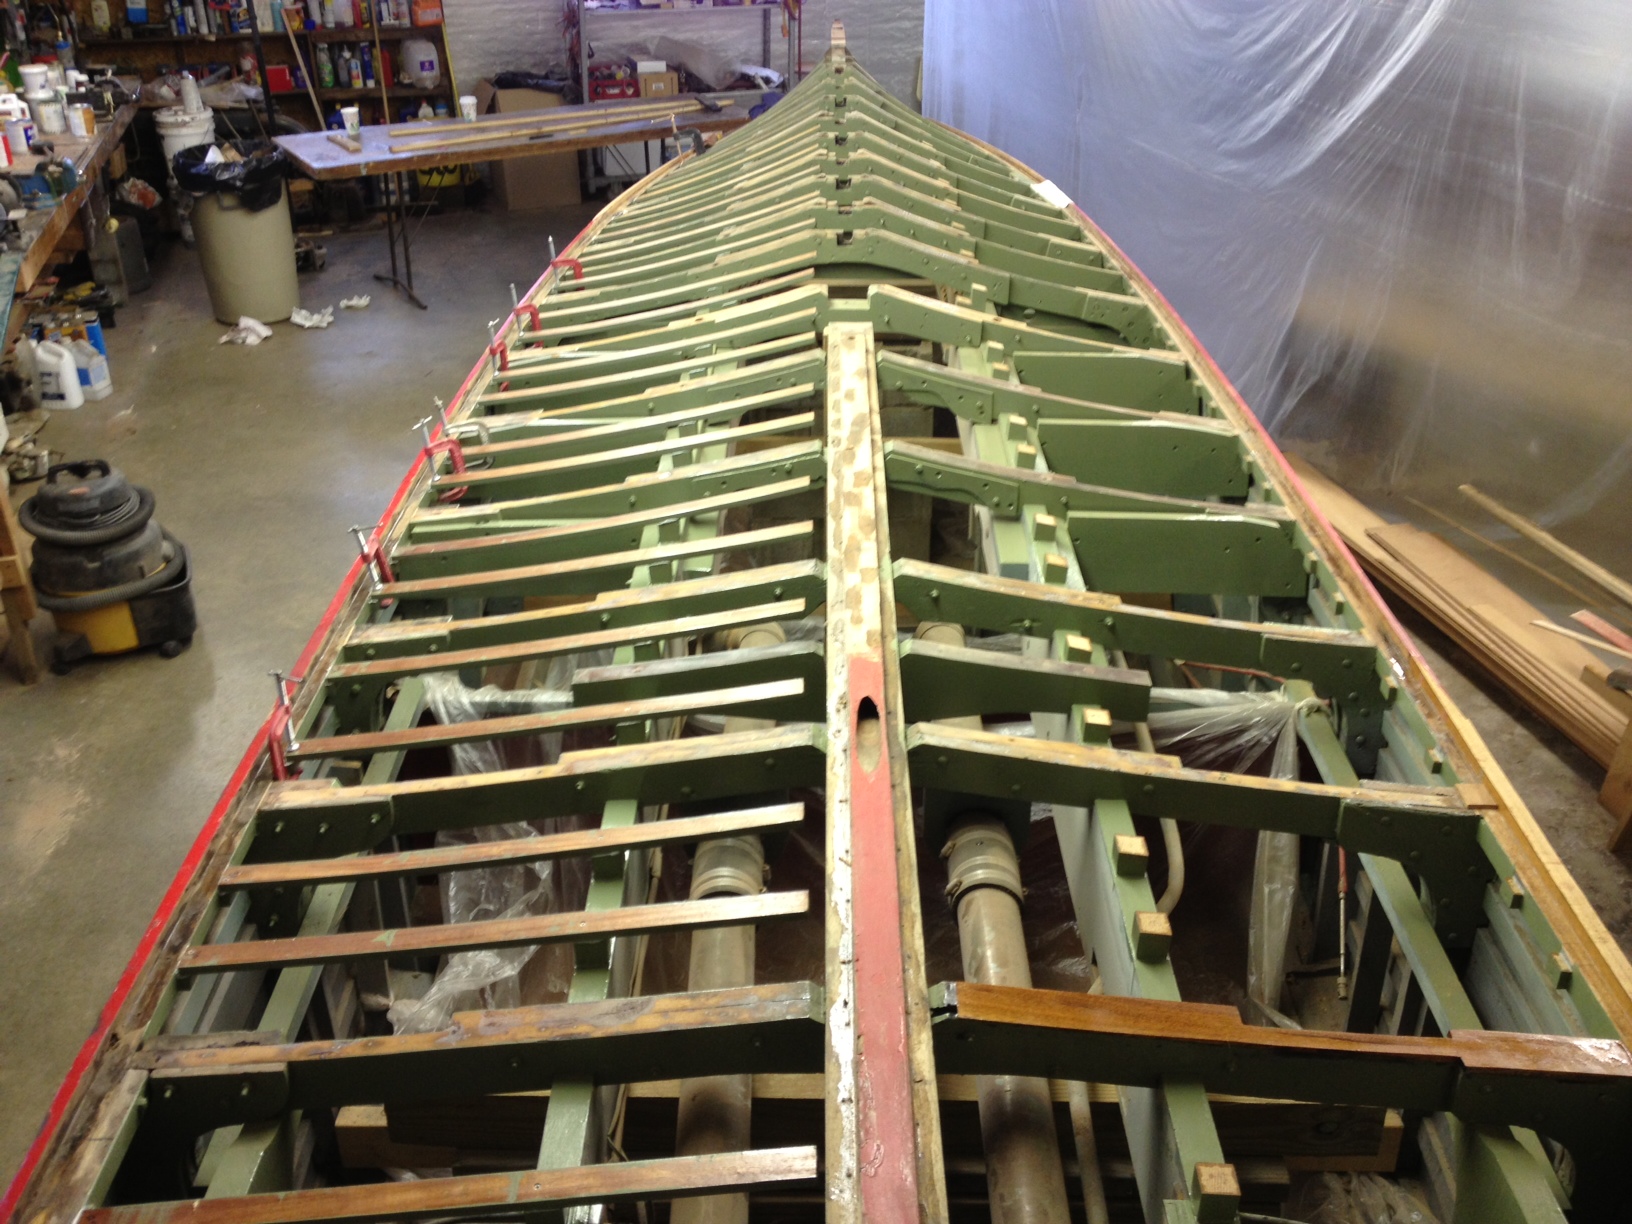
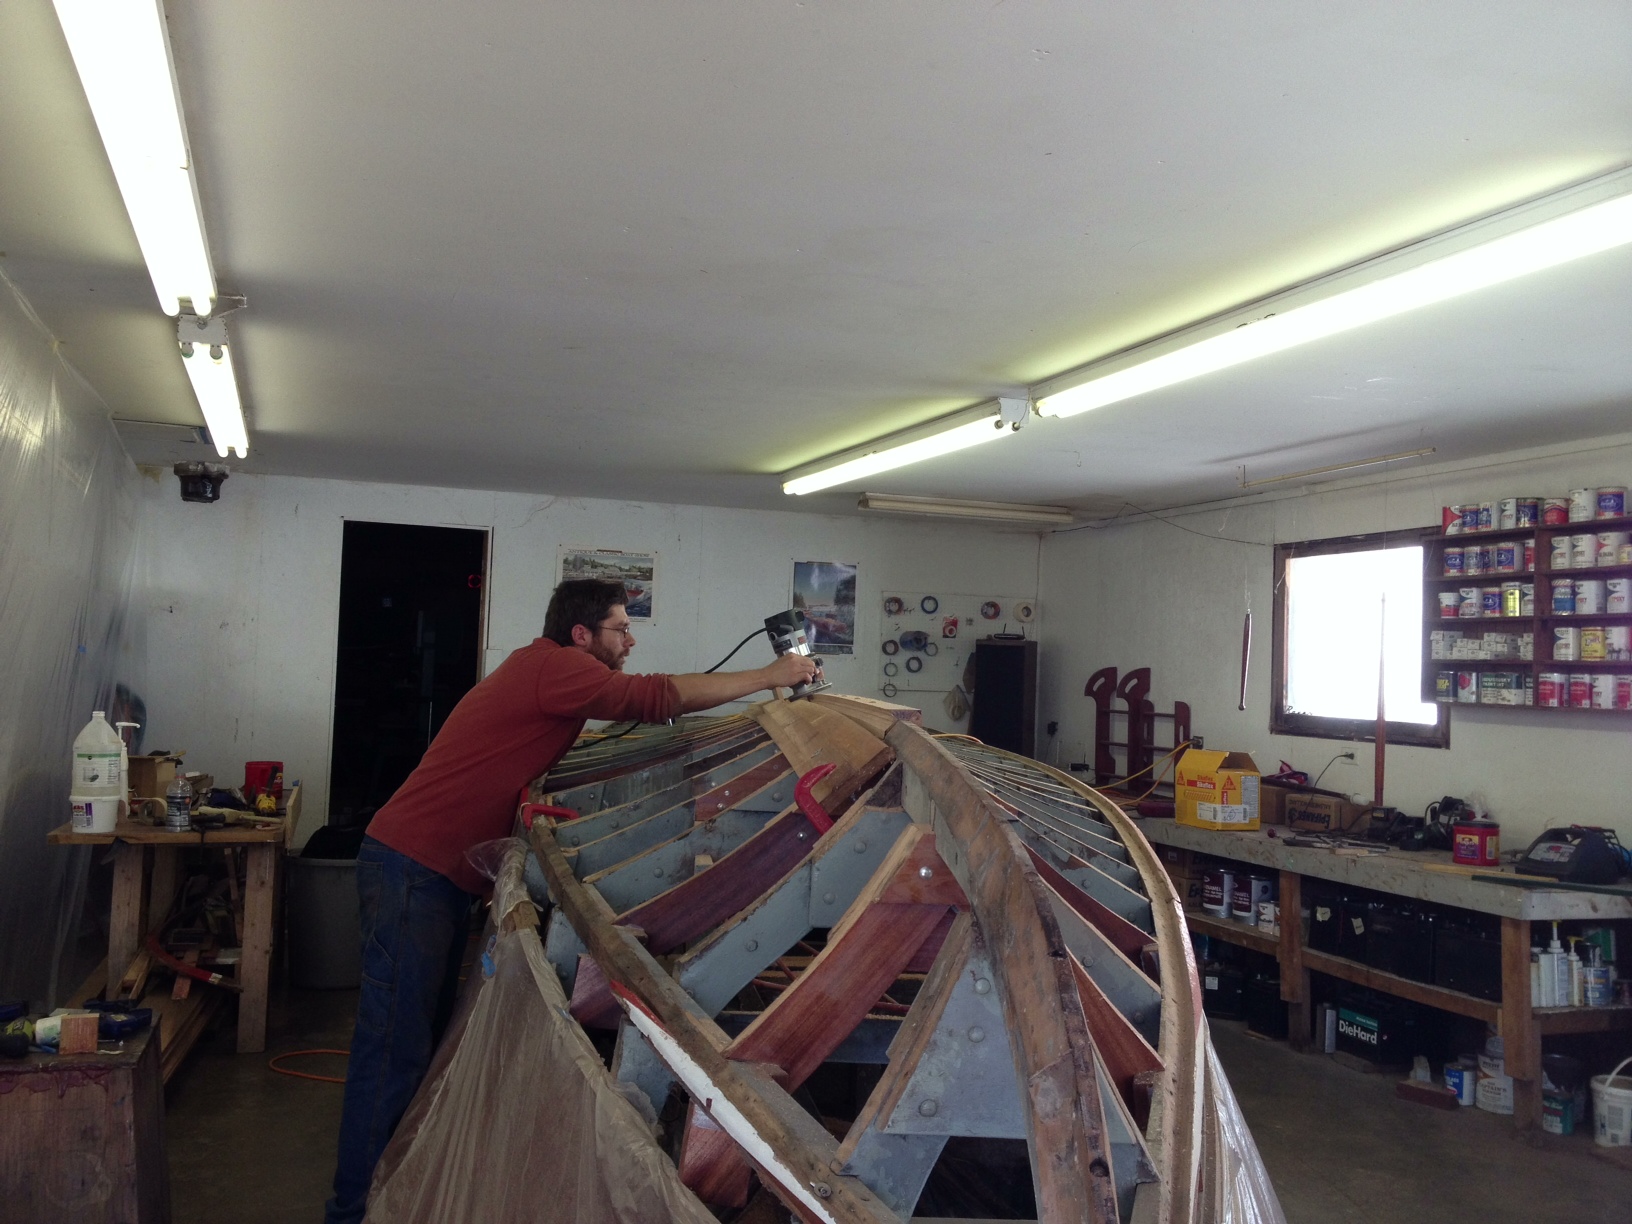
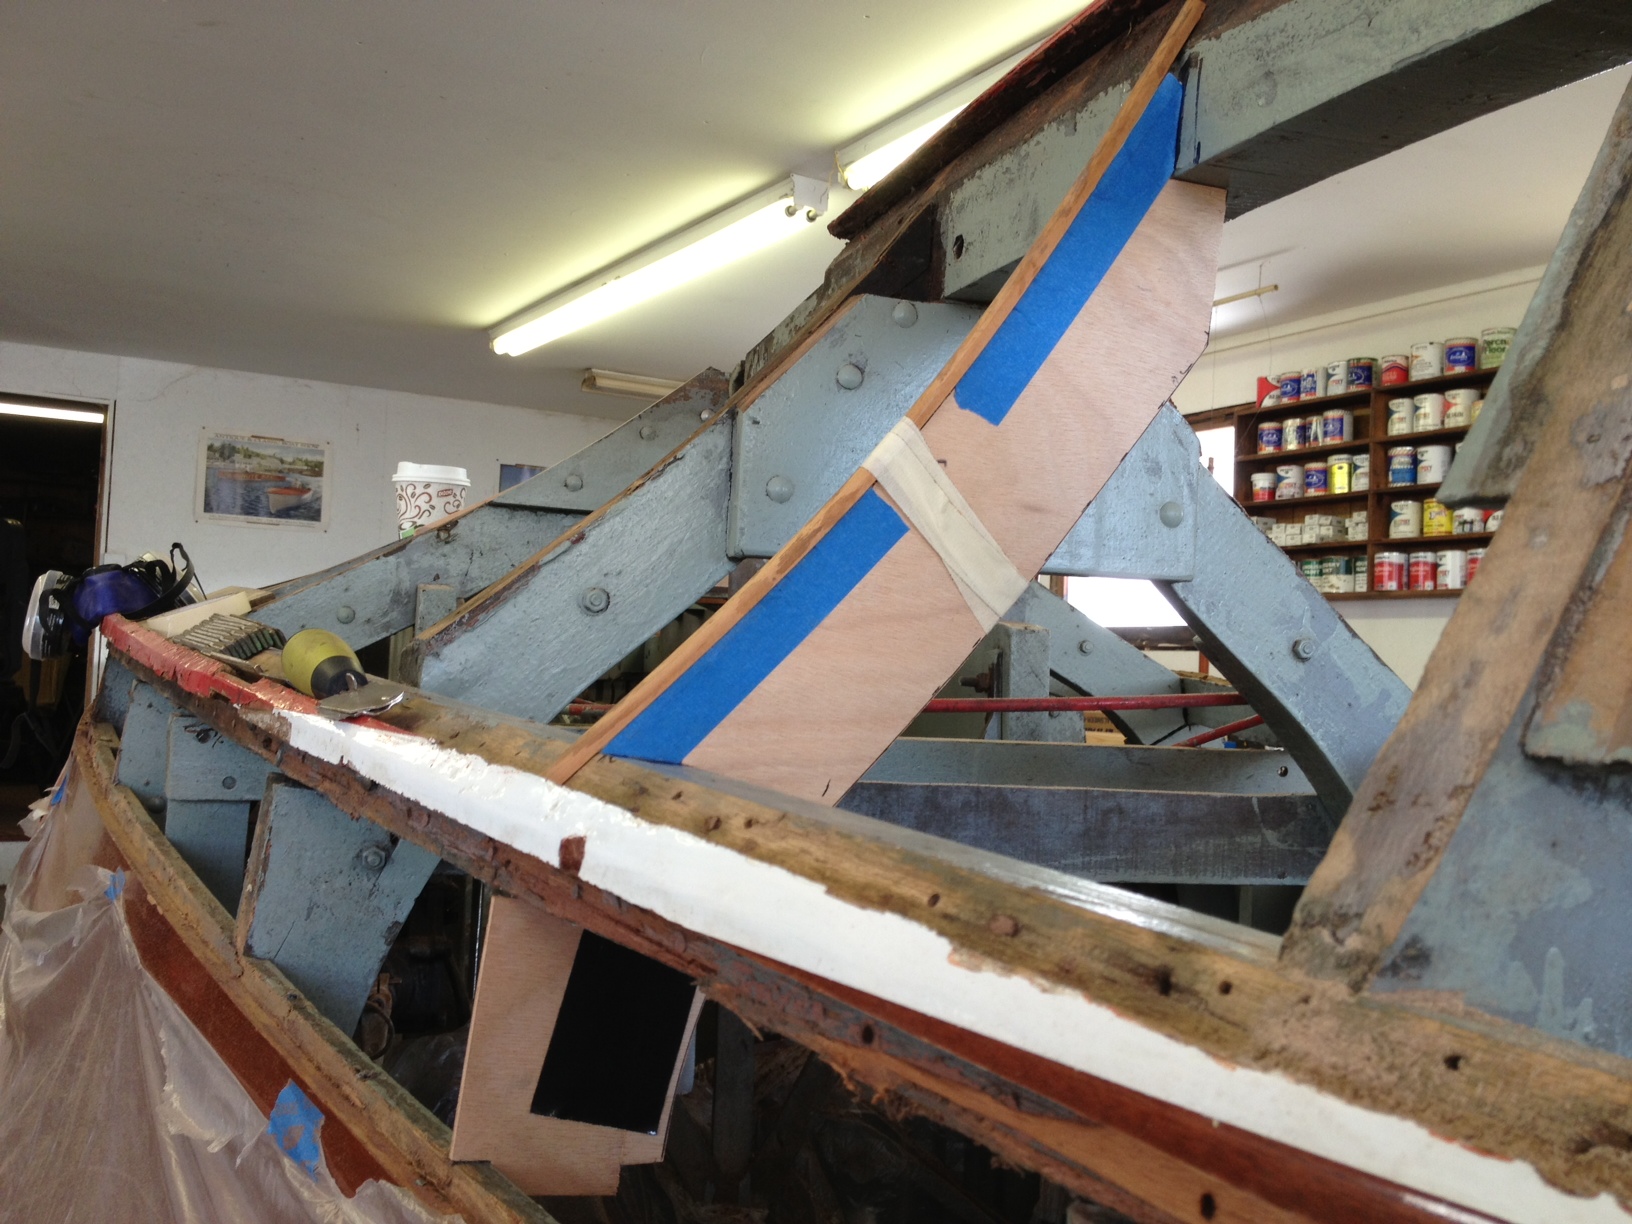
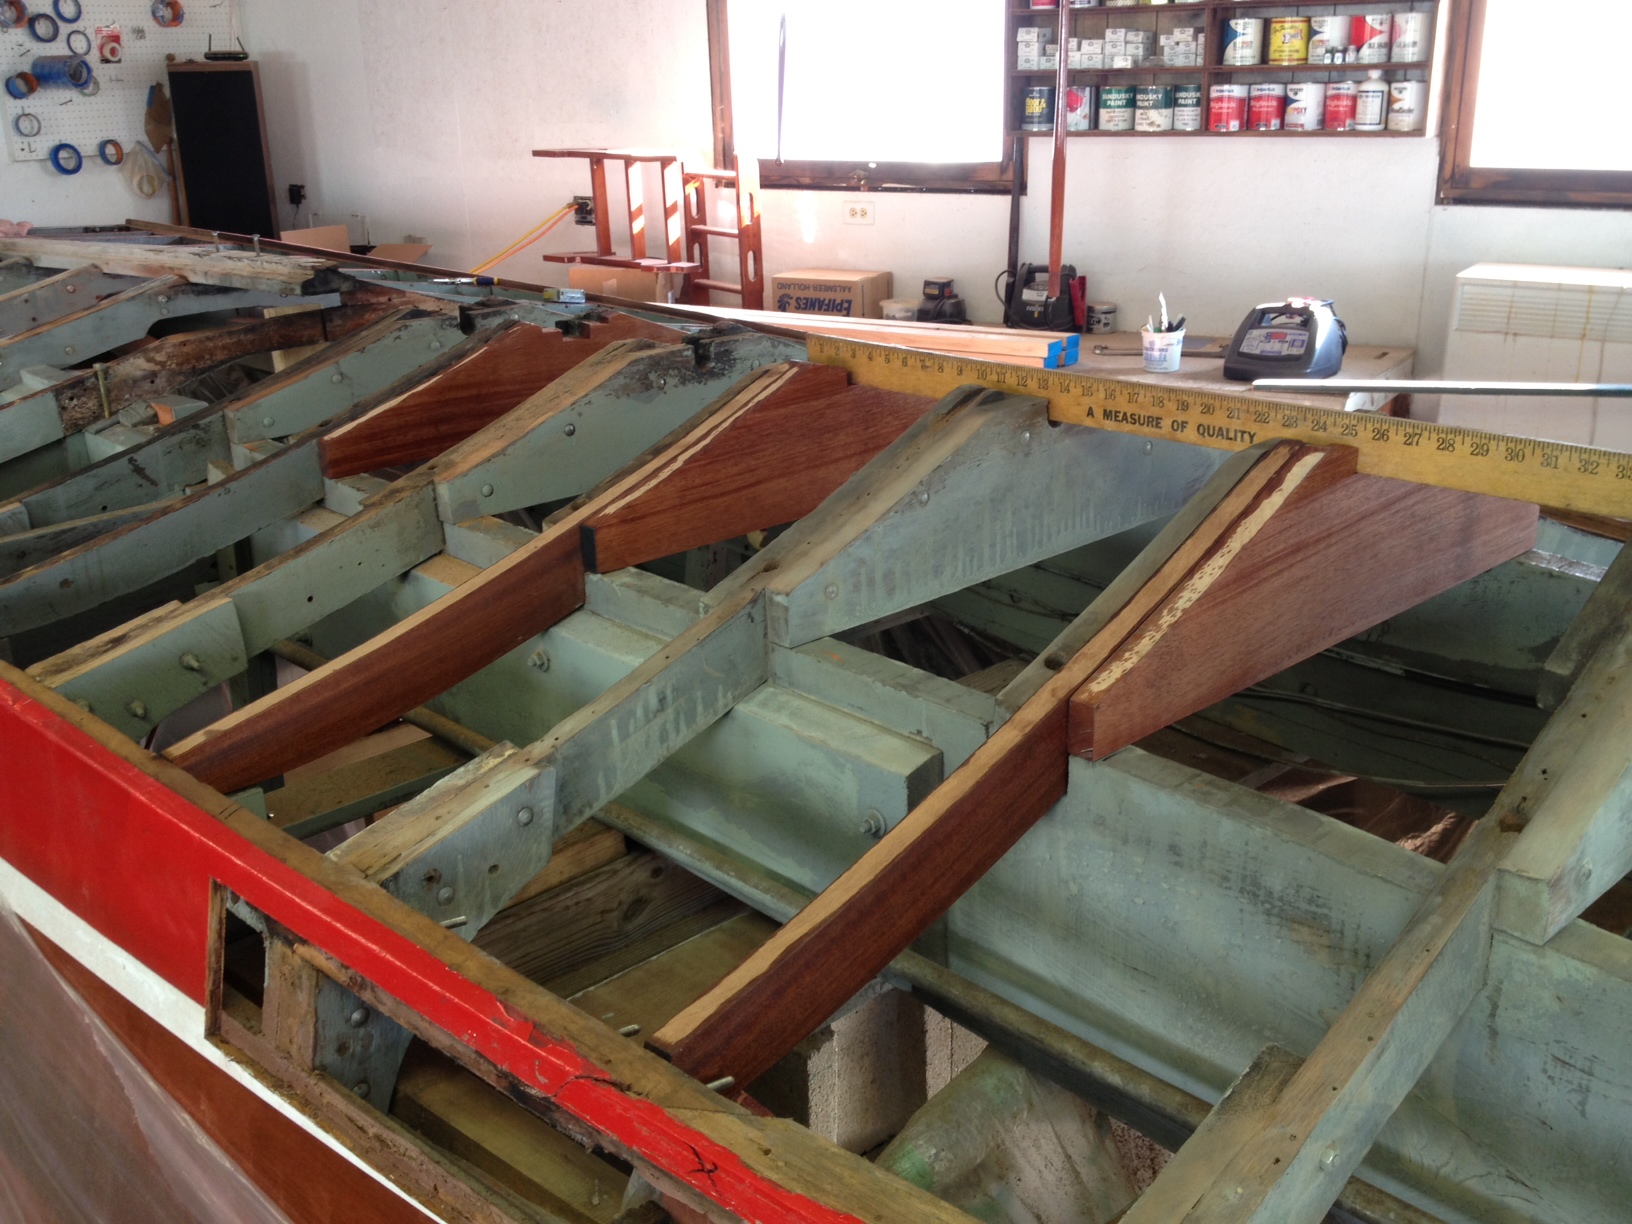
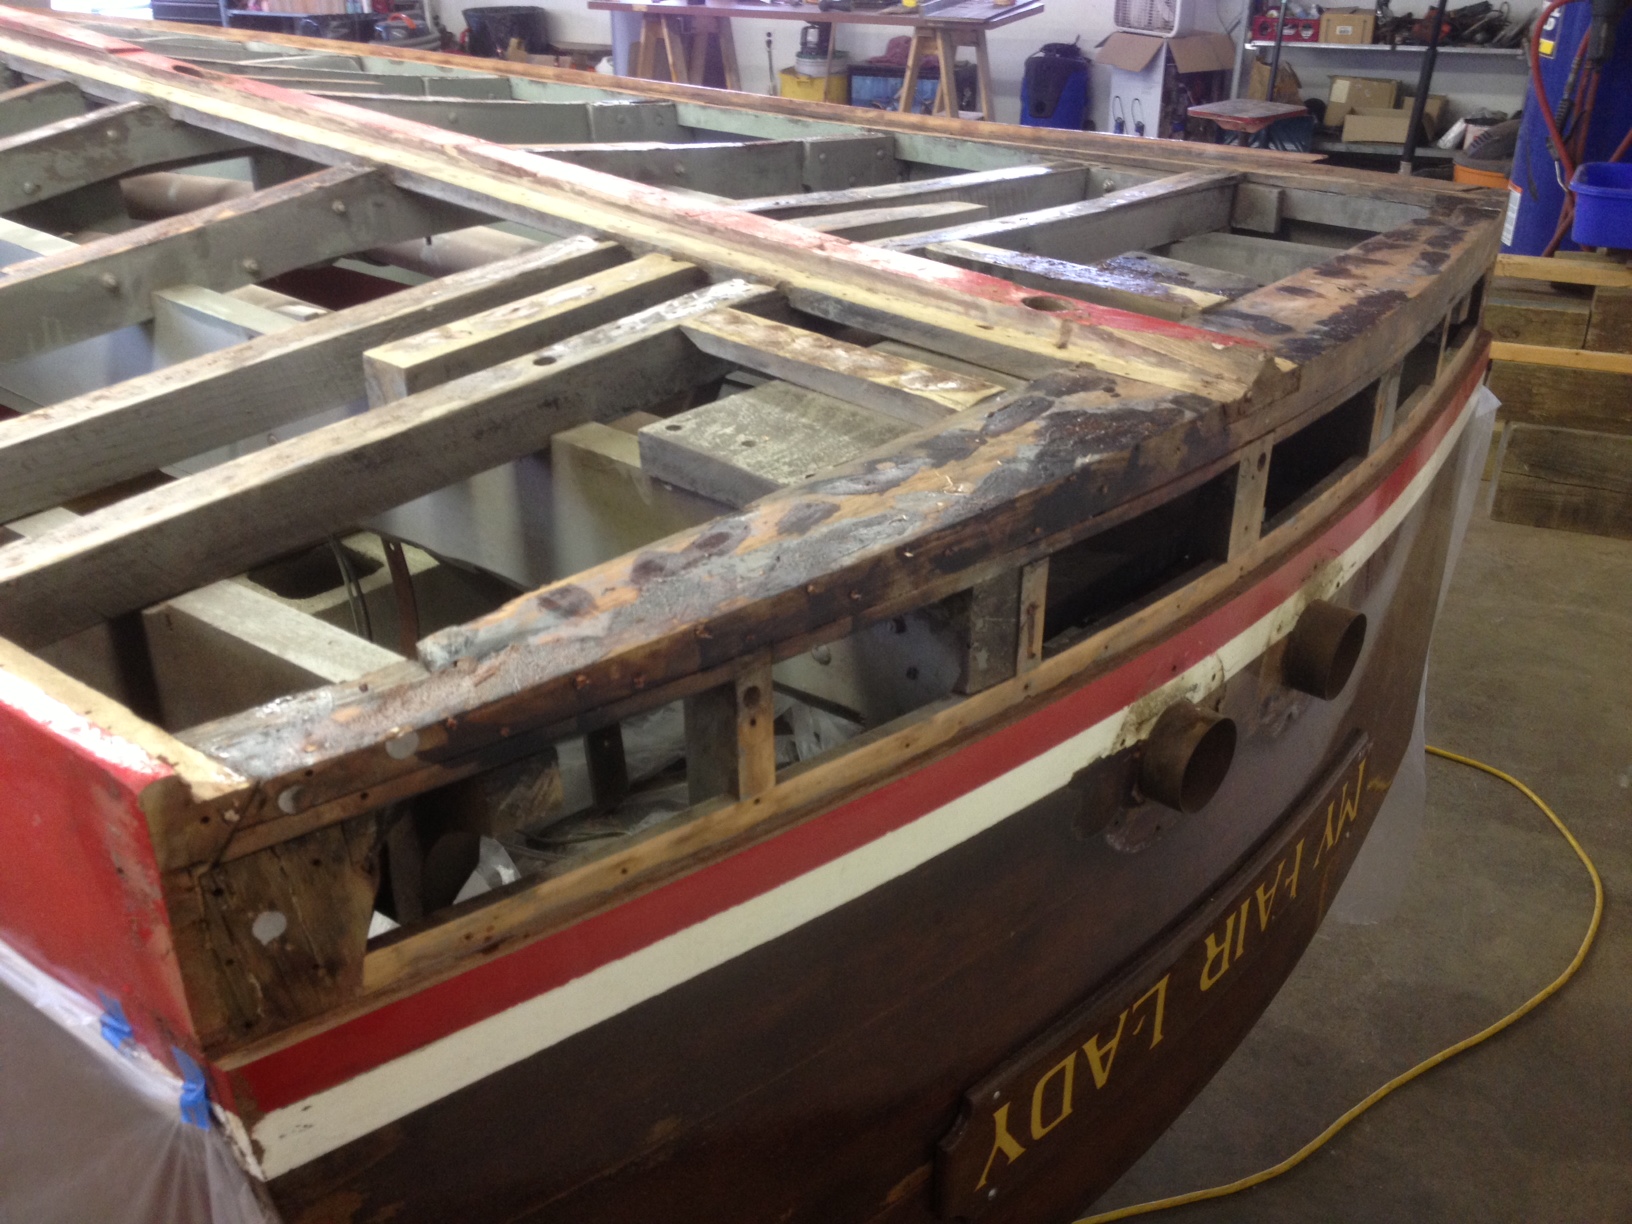
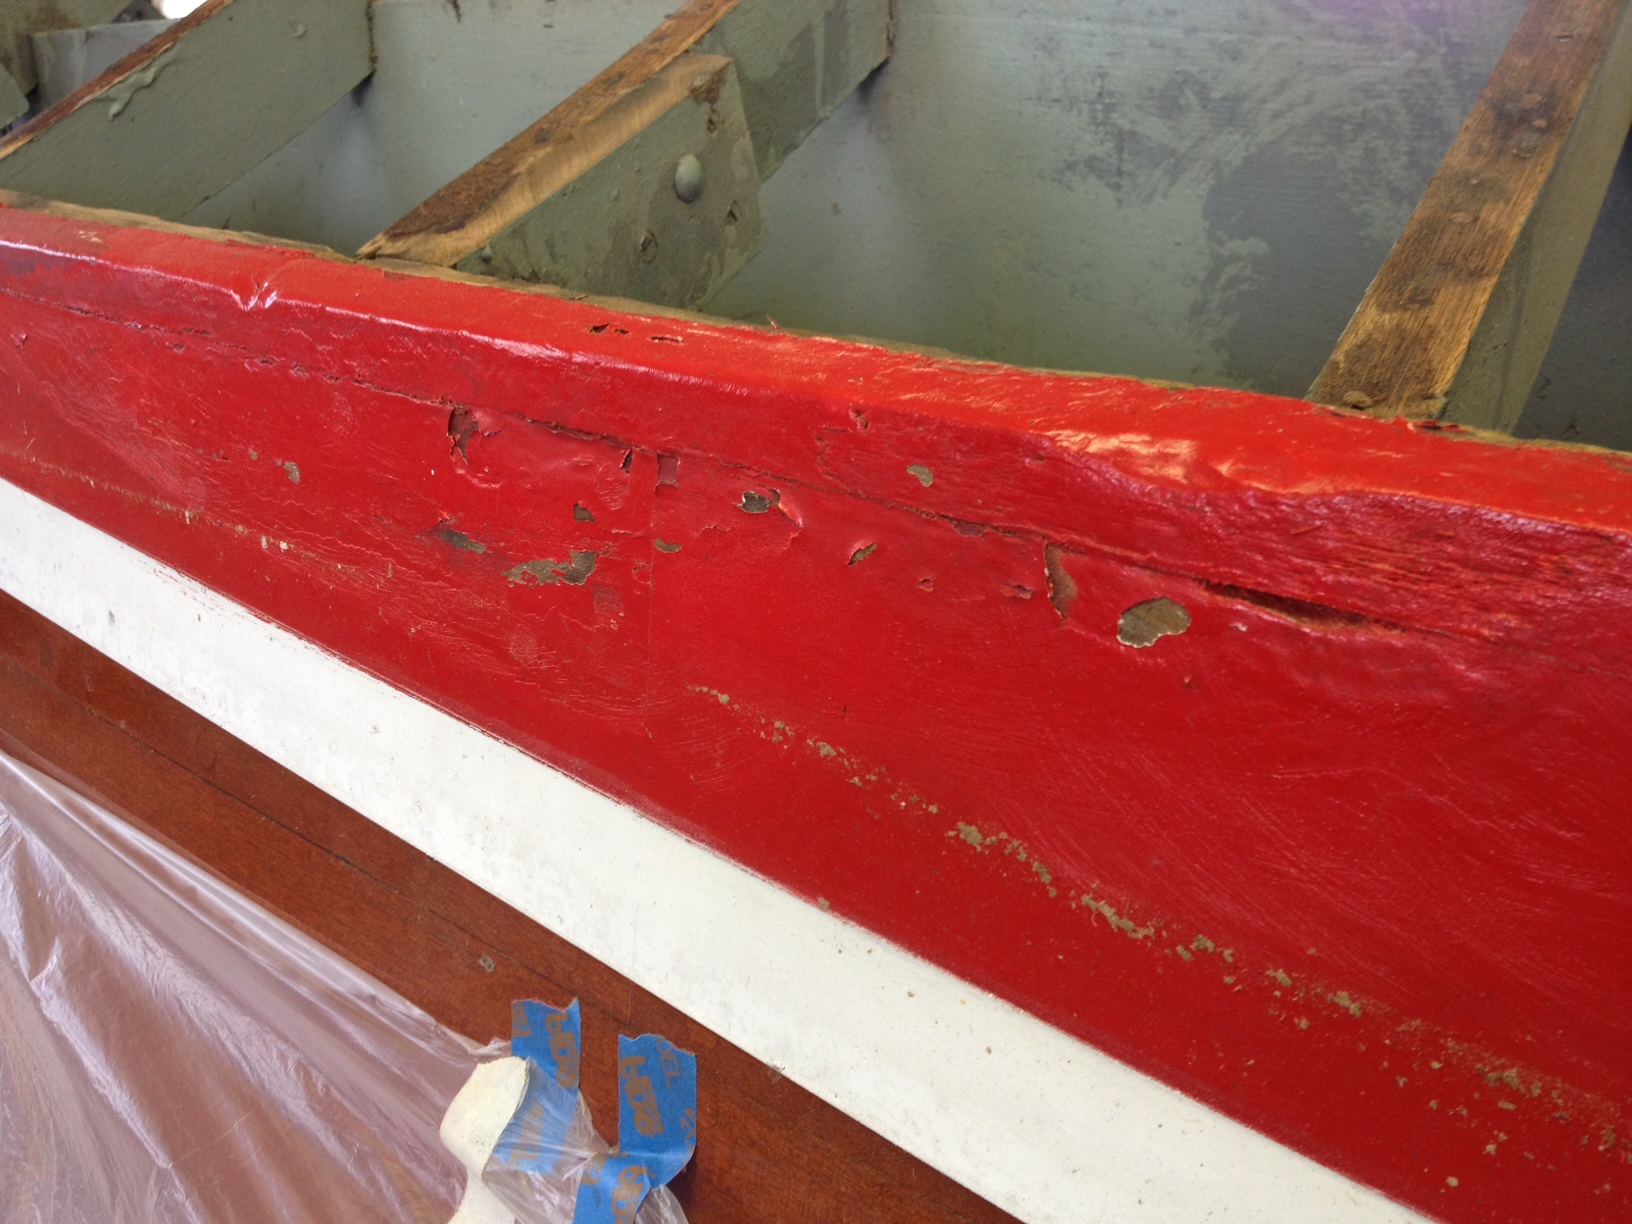
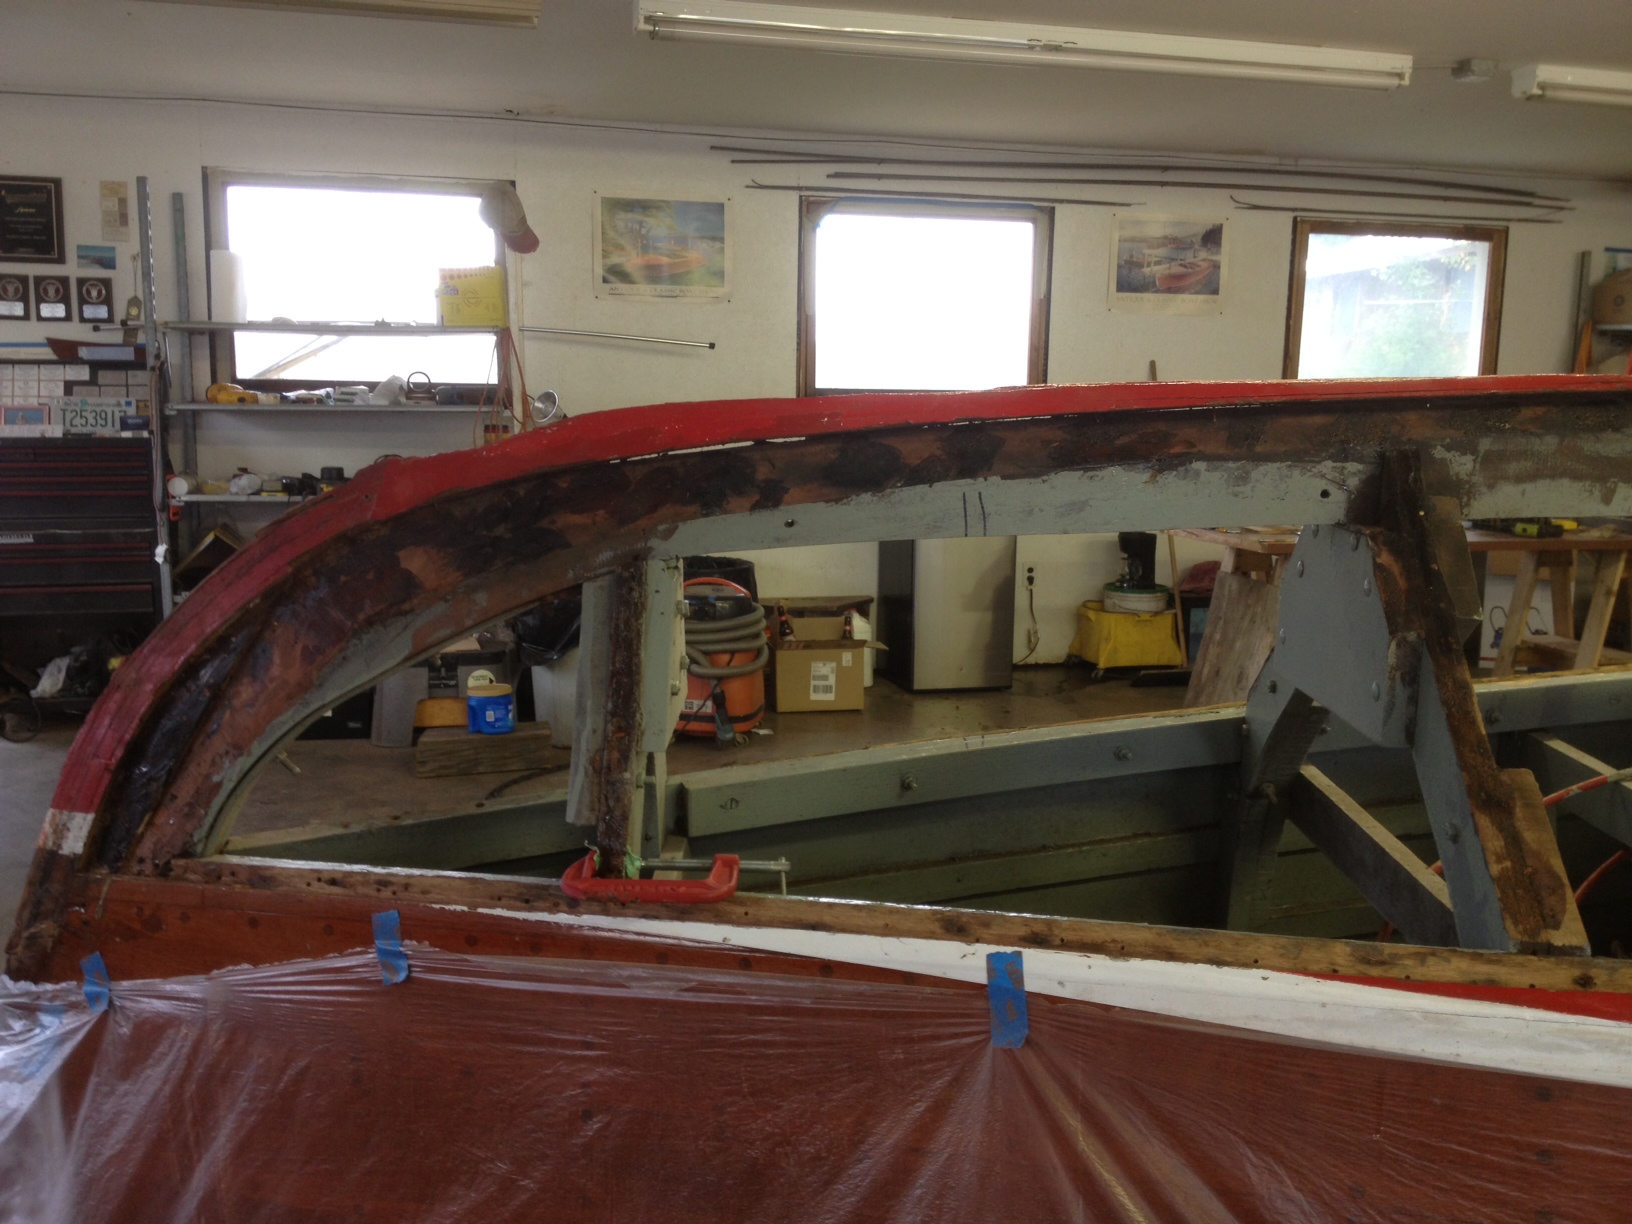
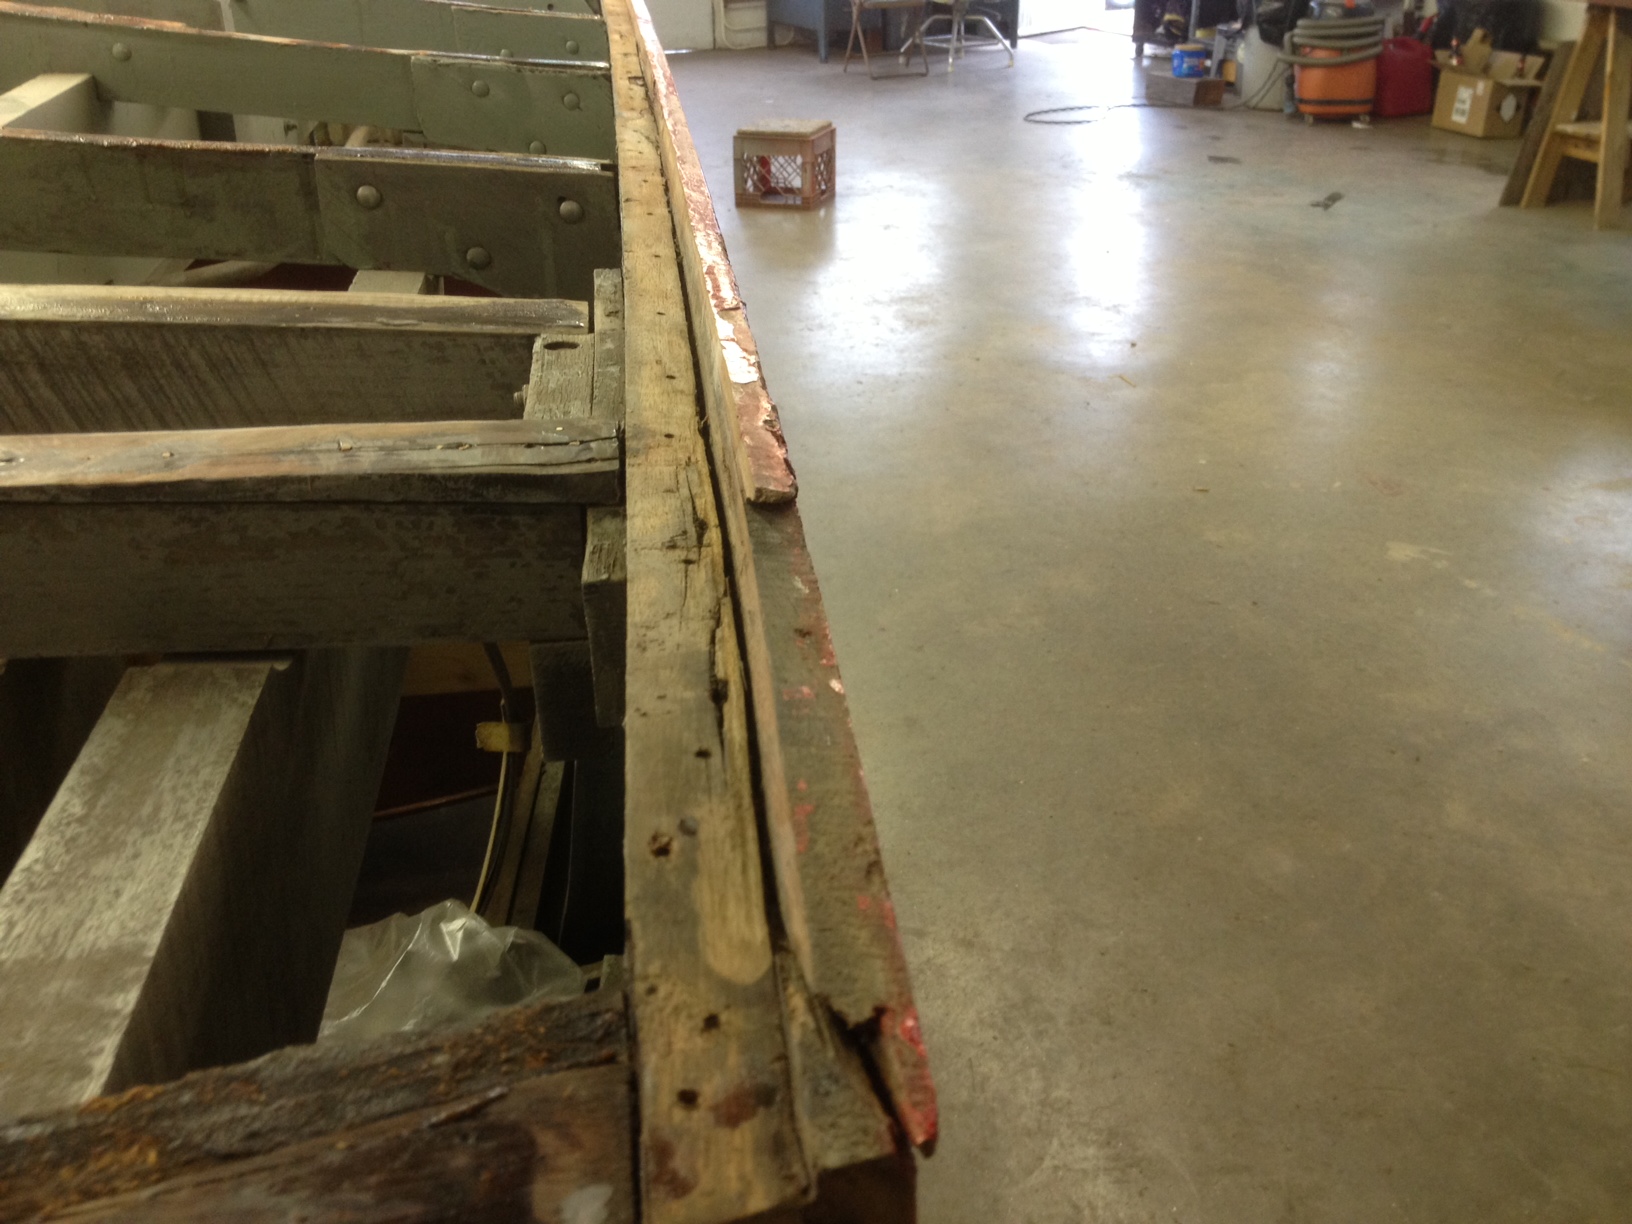
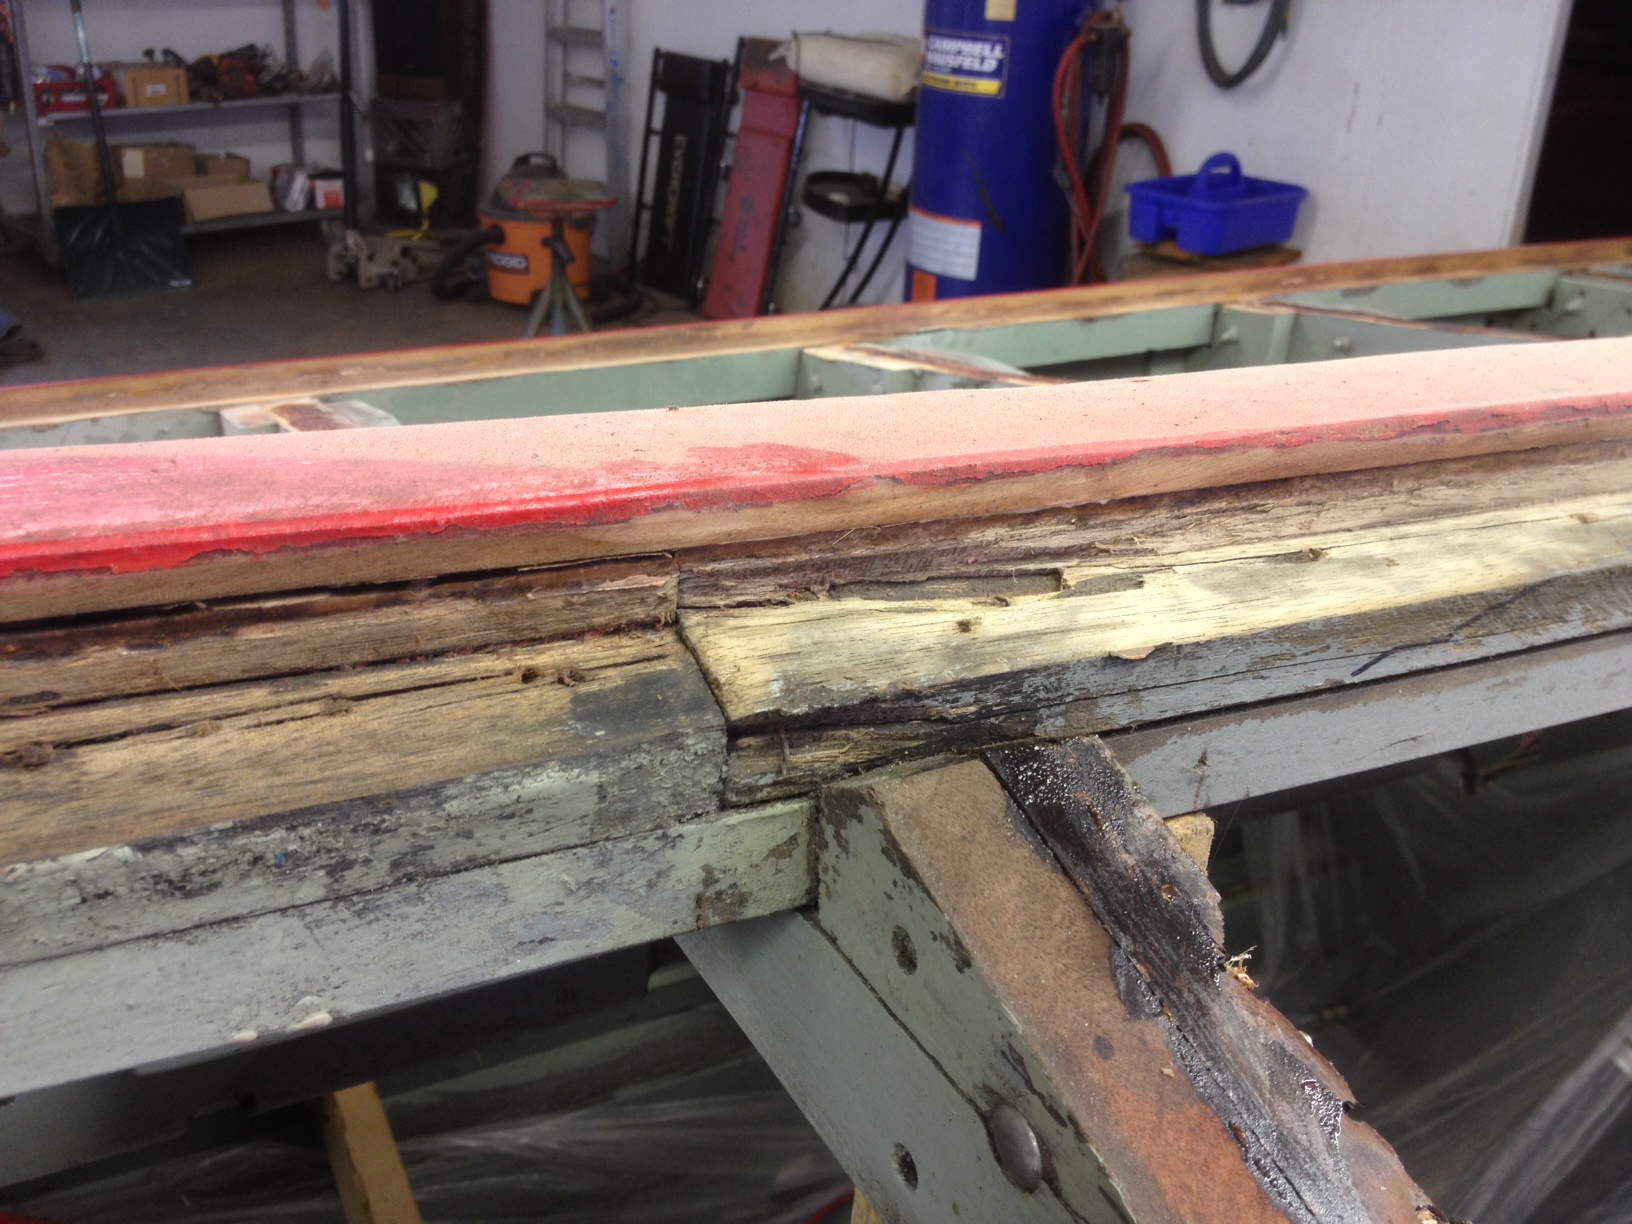
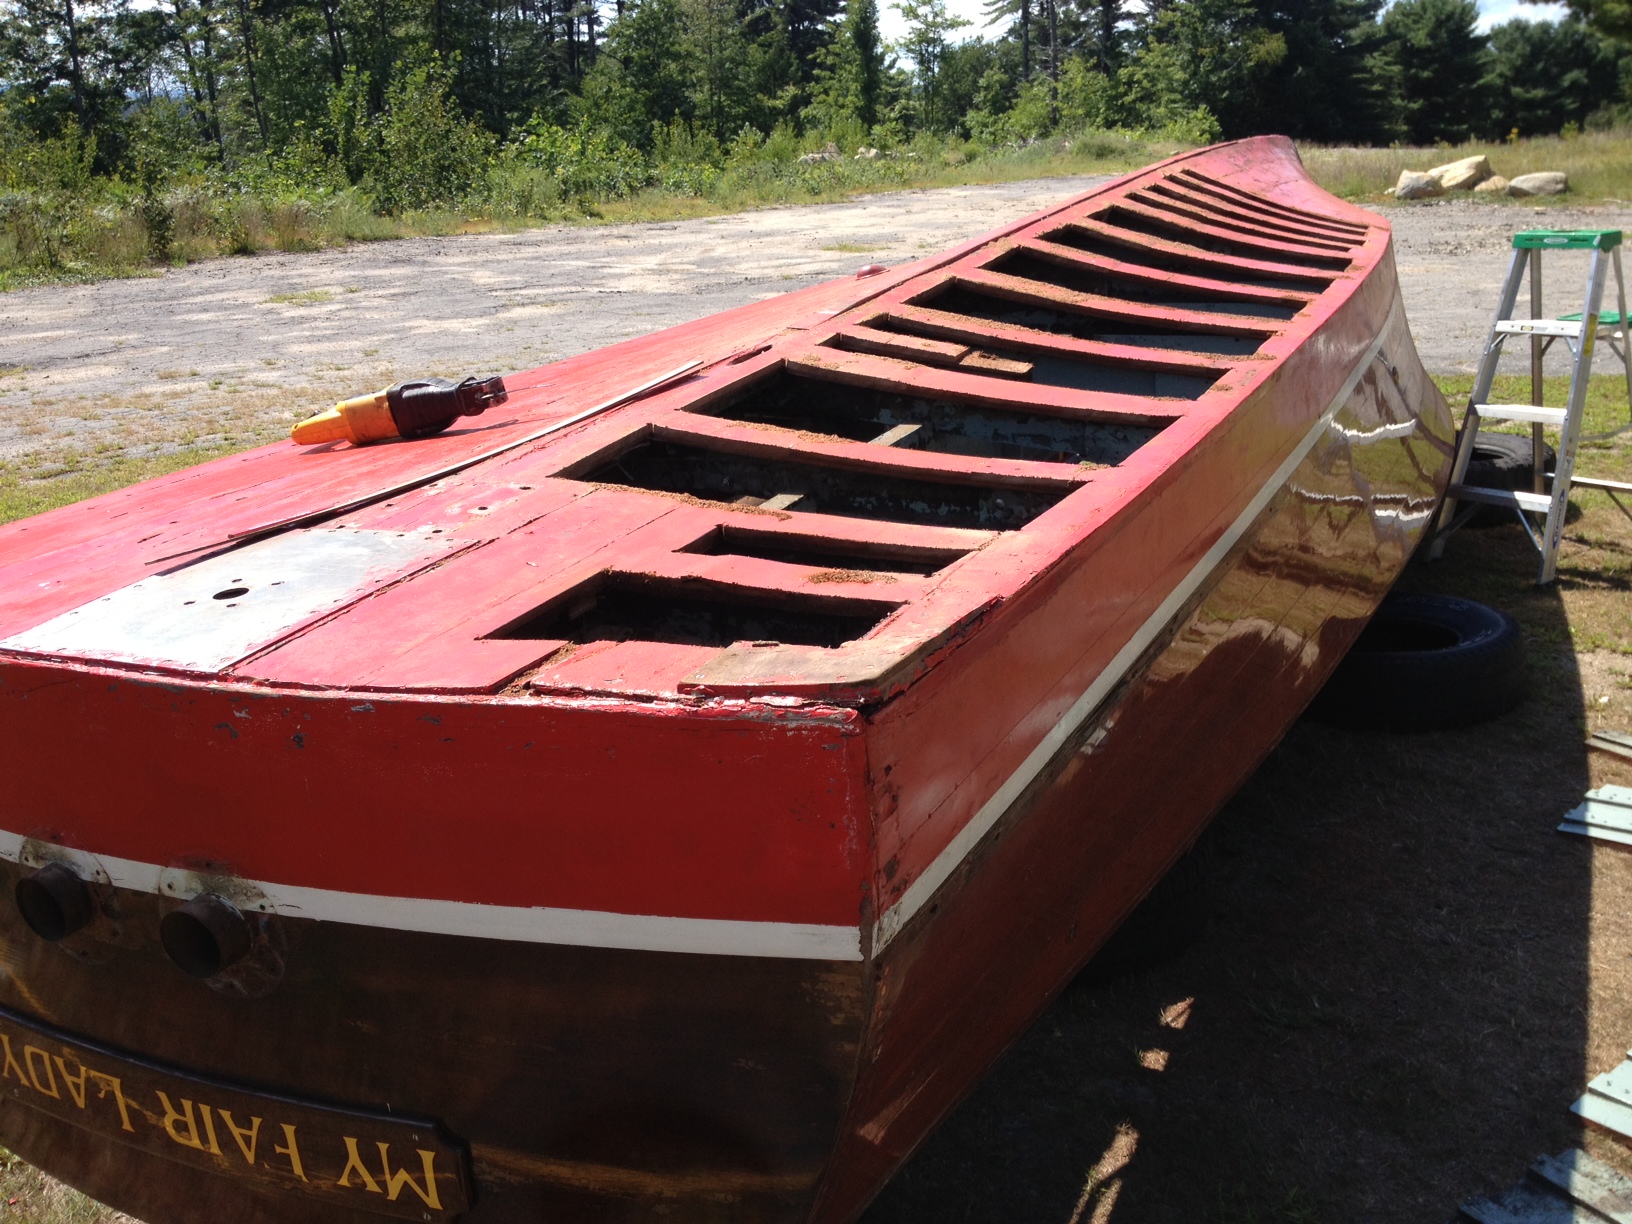
After pulling the old bottom off we discovered a few areas that needed addressing. A section of the keel was beyond repair and needed replacing, two sections of chine also displayed serious rot, a few frames would be replaced and the stem needed to be rebuilt from the backrabbet line out. The customer also complained about the boat listing to port quite a bit, which required him to sit in the center of the front bench seat when riding alone. We decided to add a taper to the bottom on the port side from the rear cockpit aft to compensate for this.
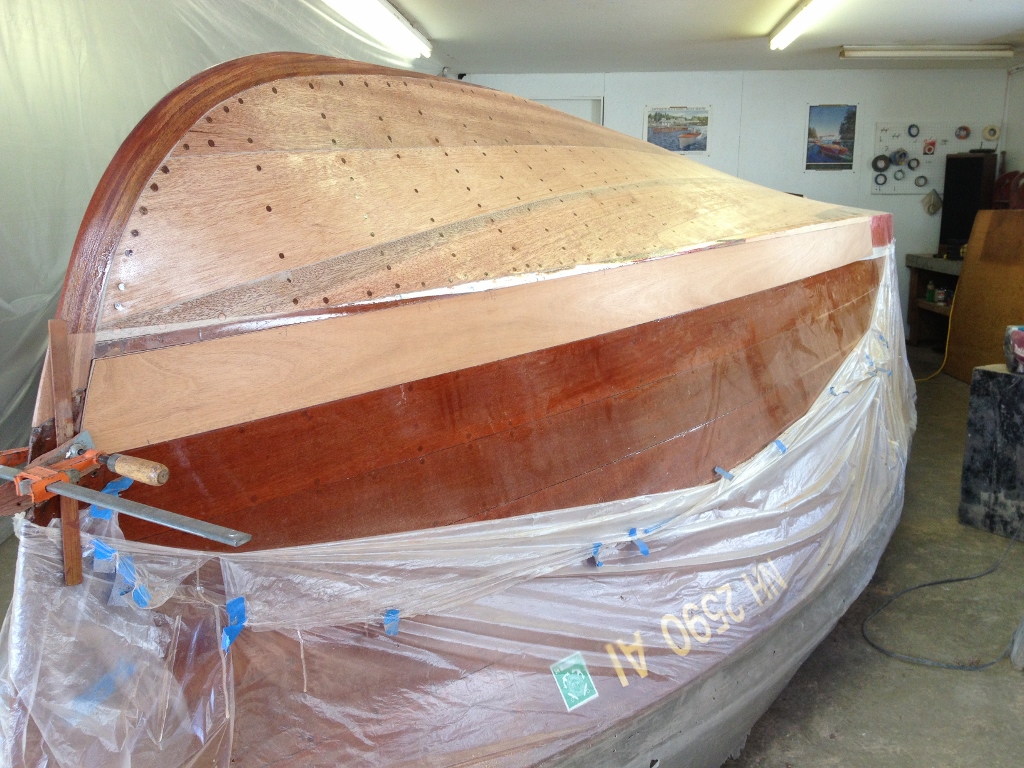
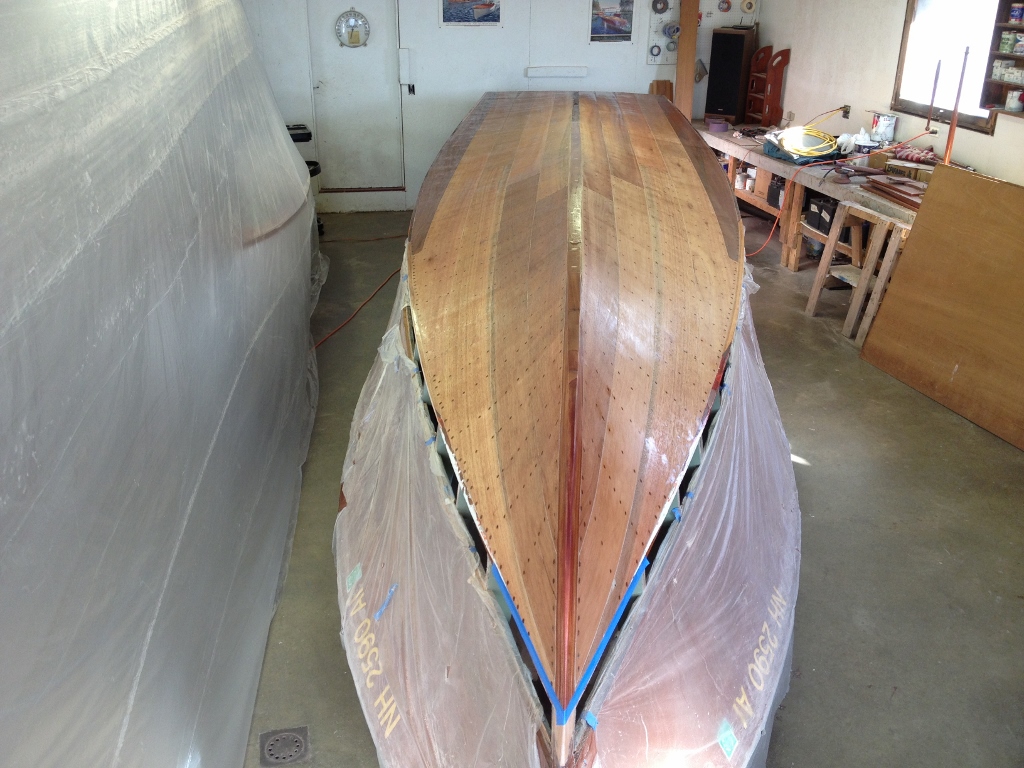
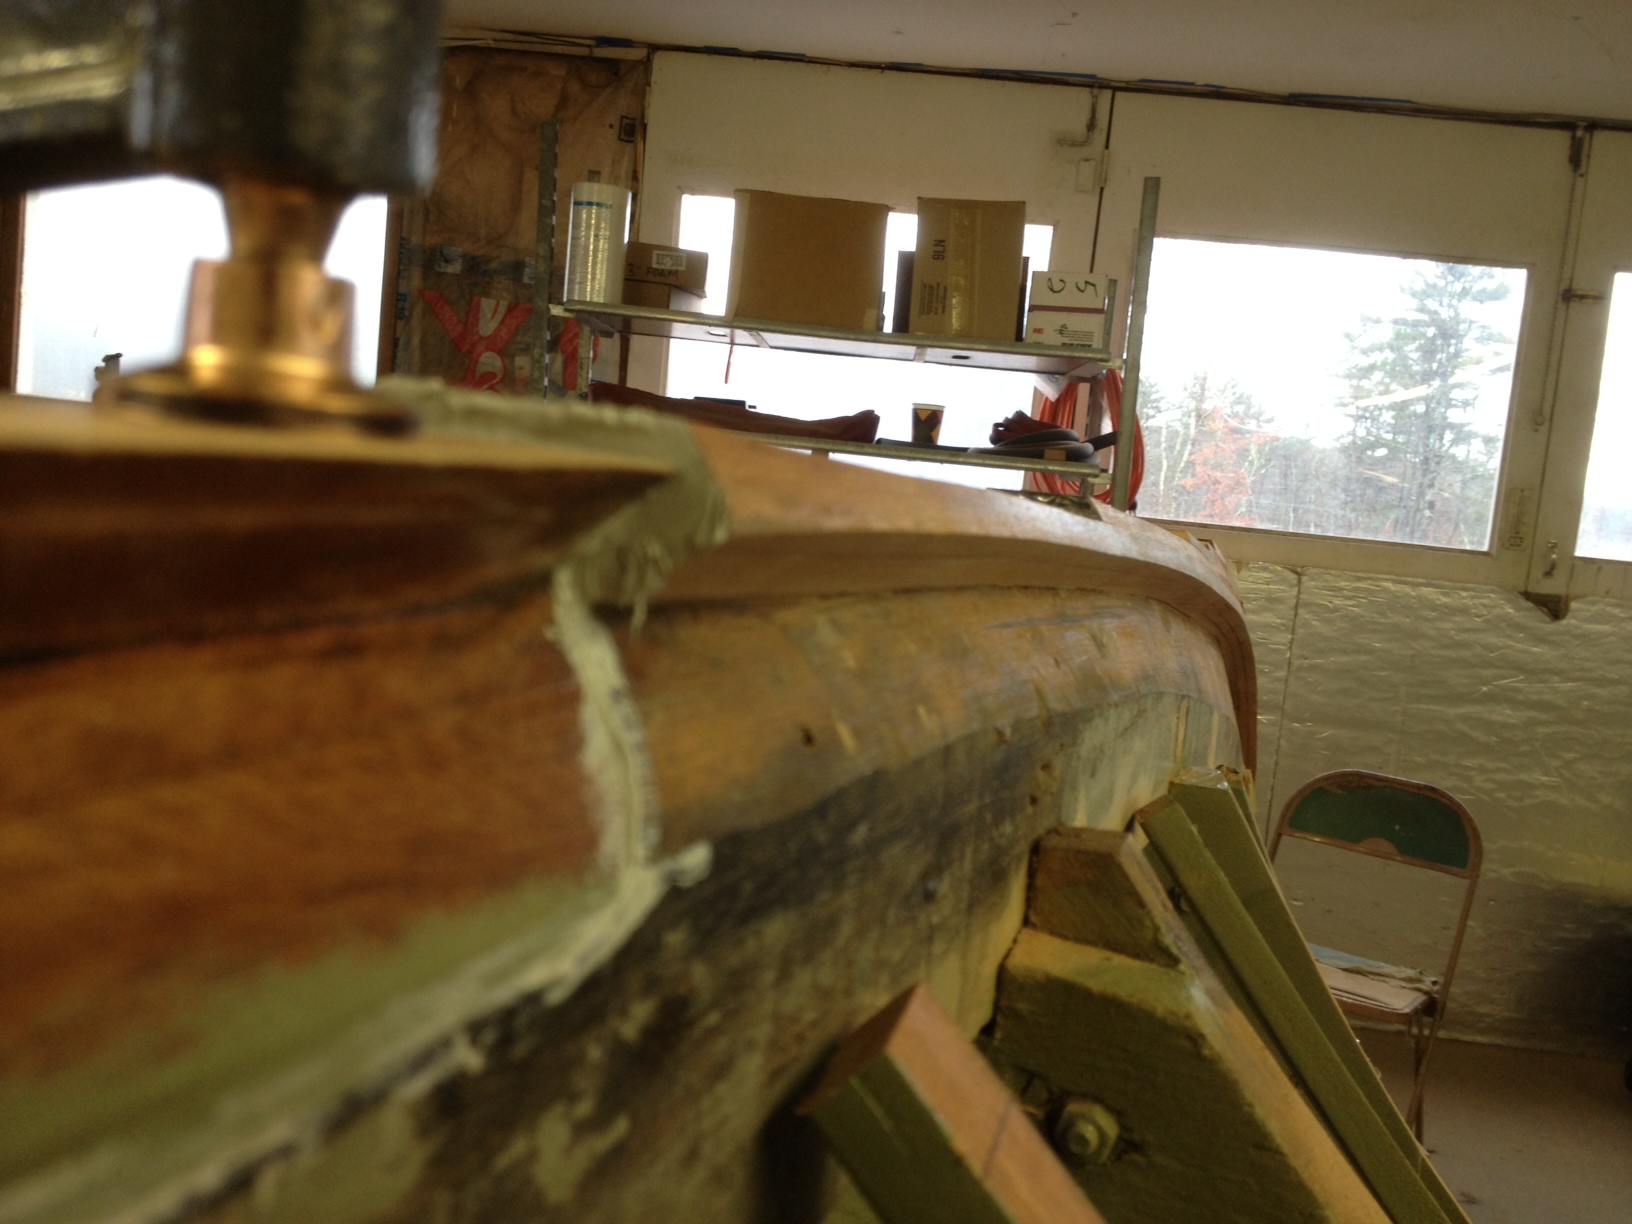
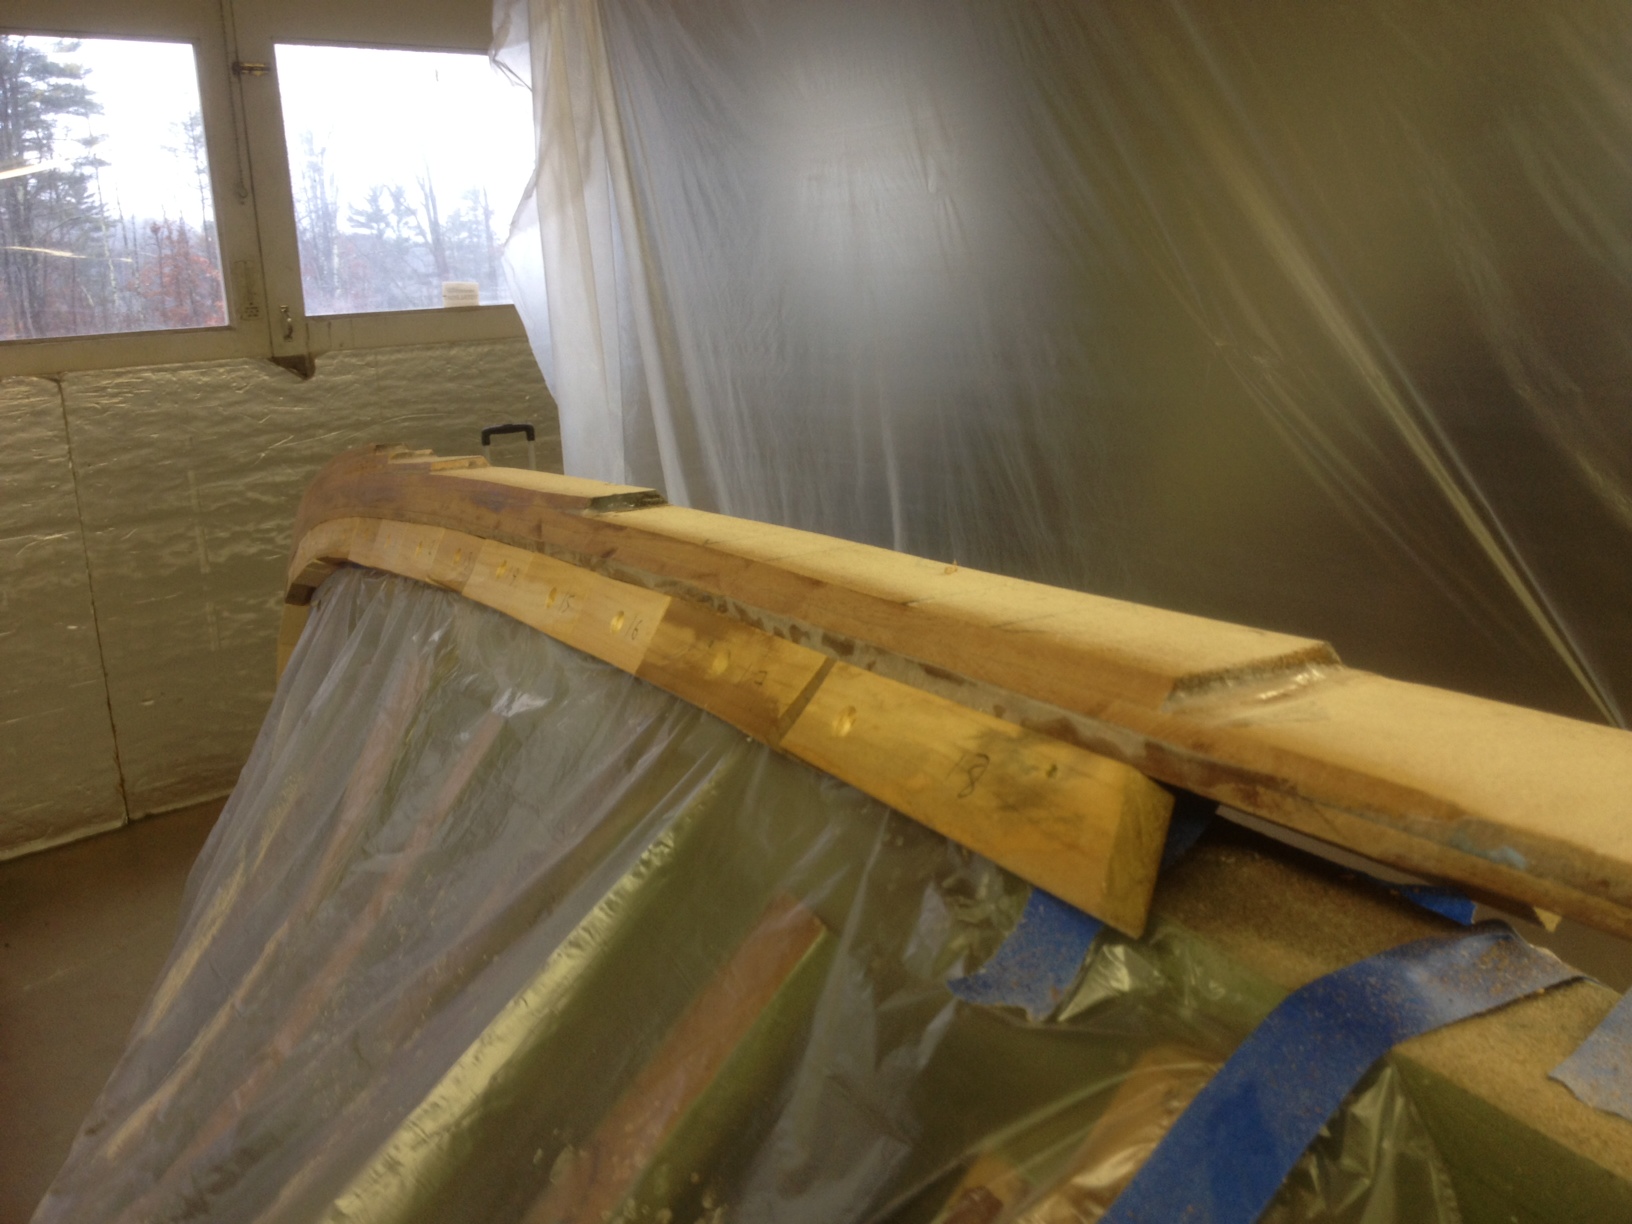
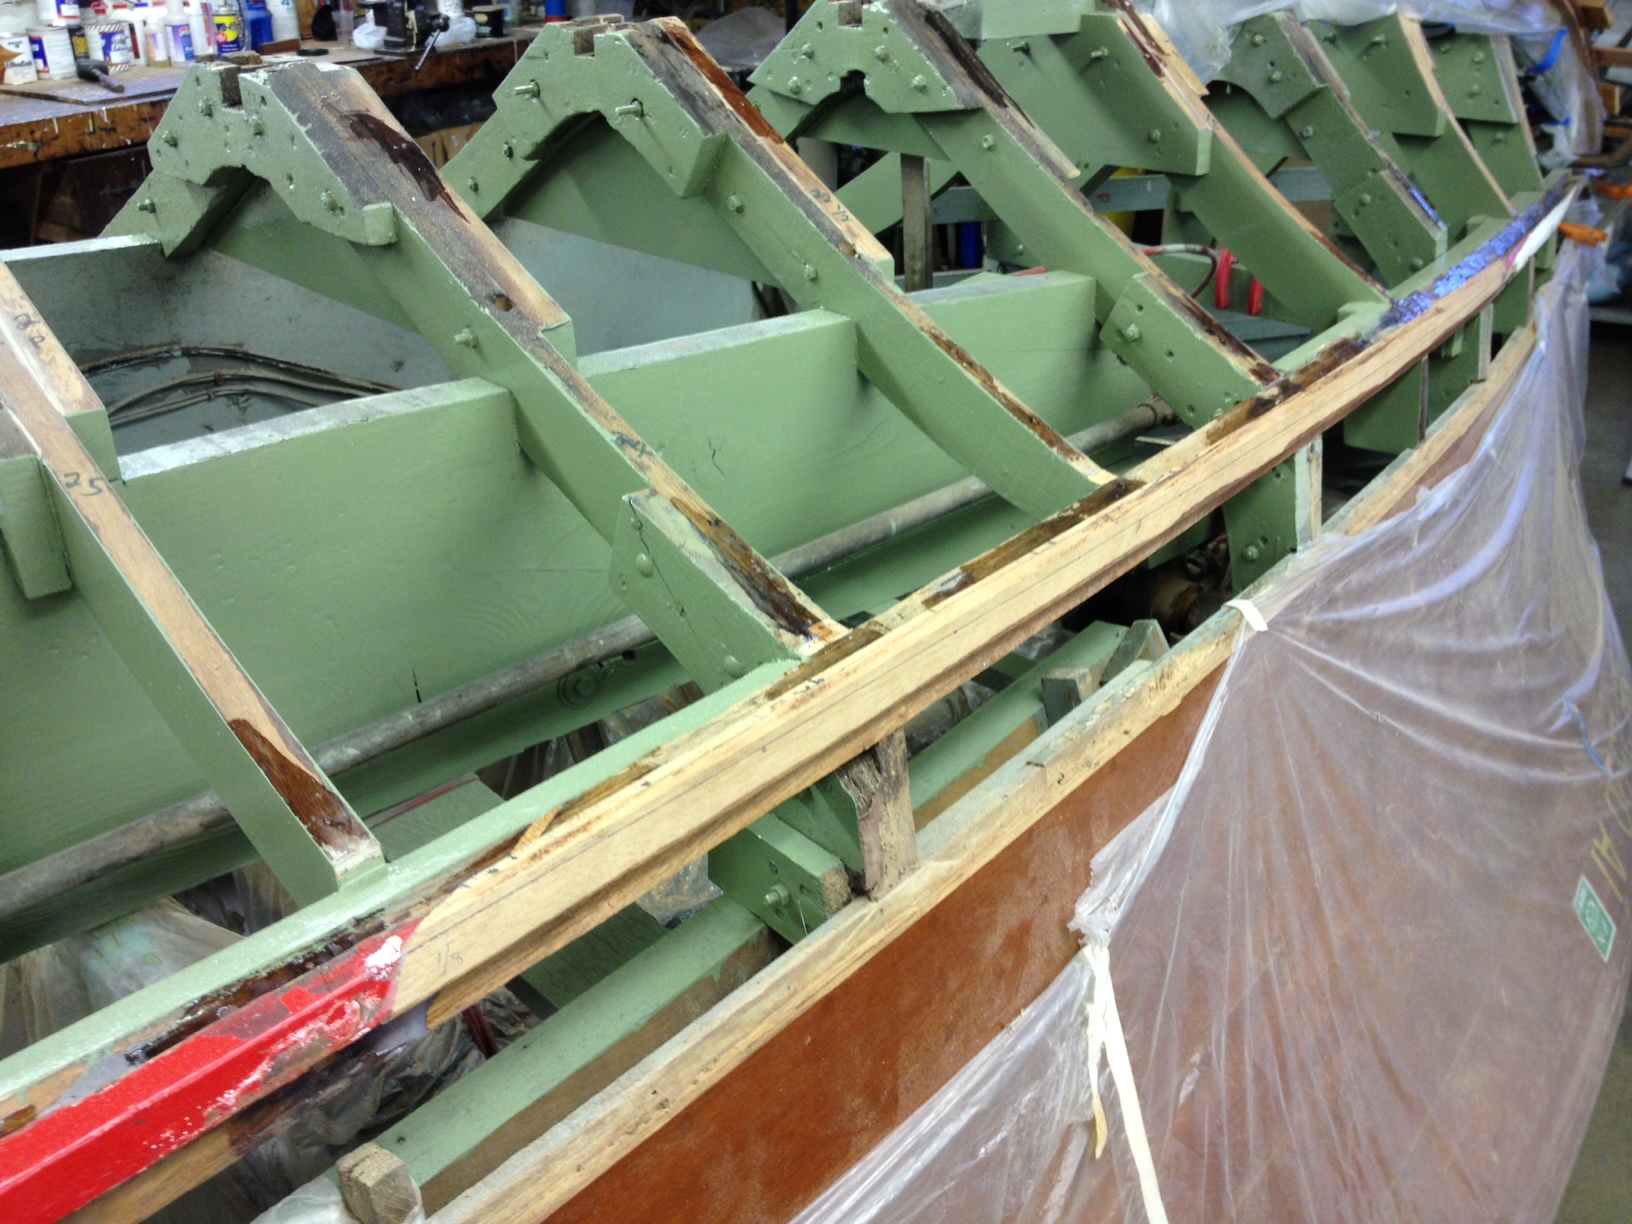
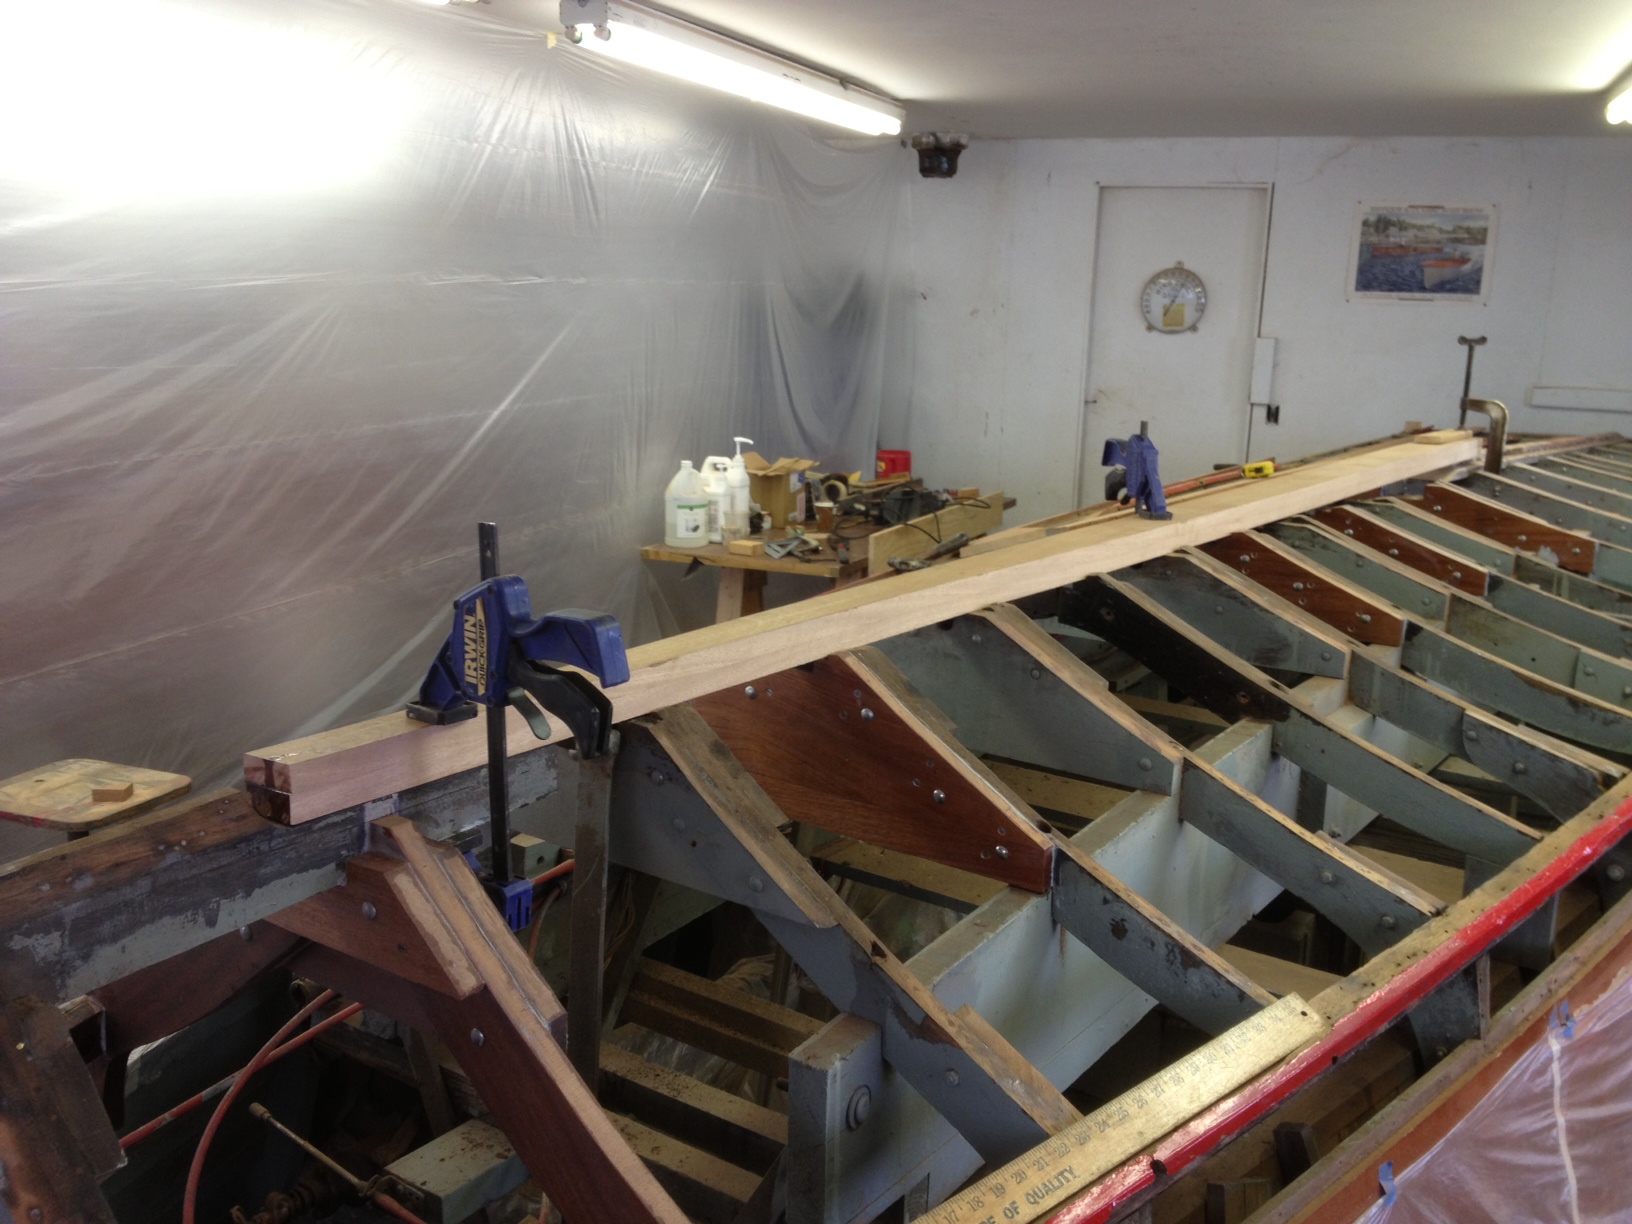
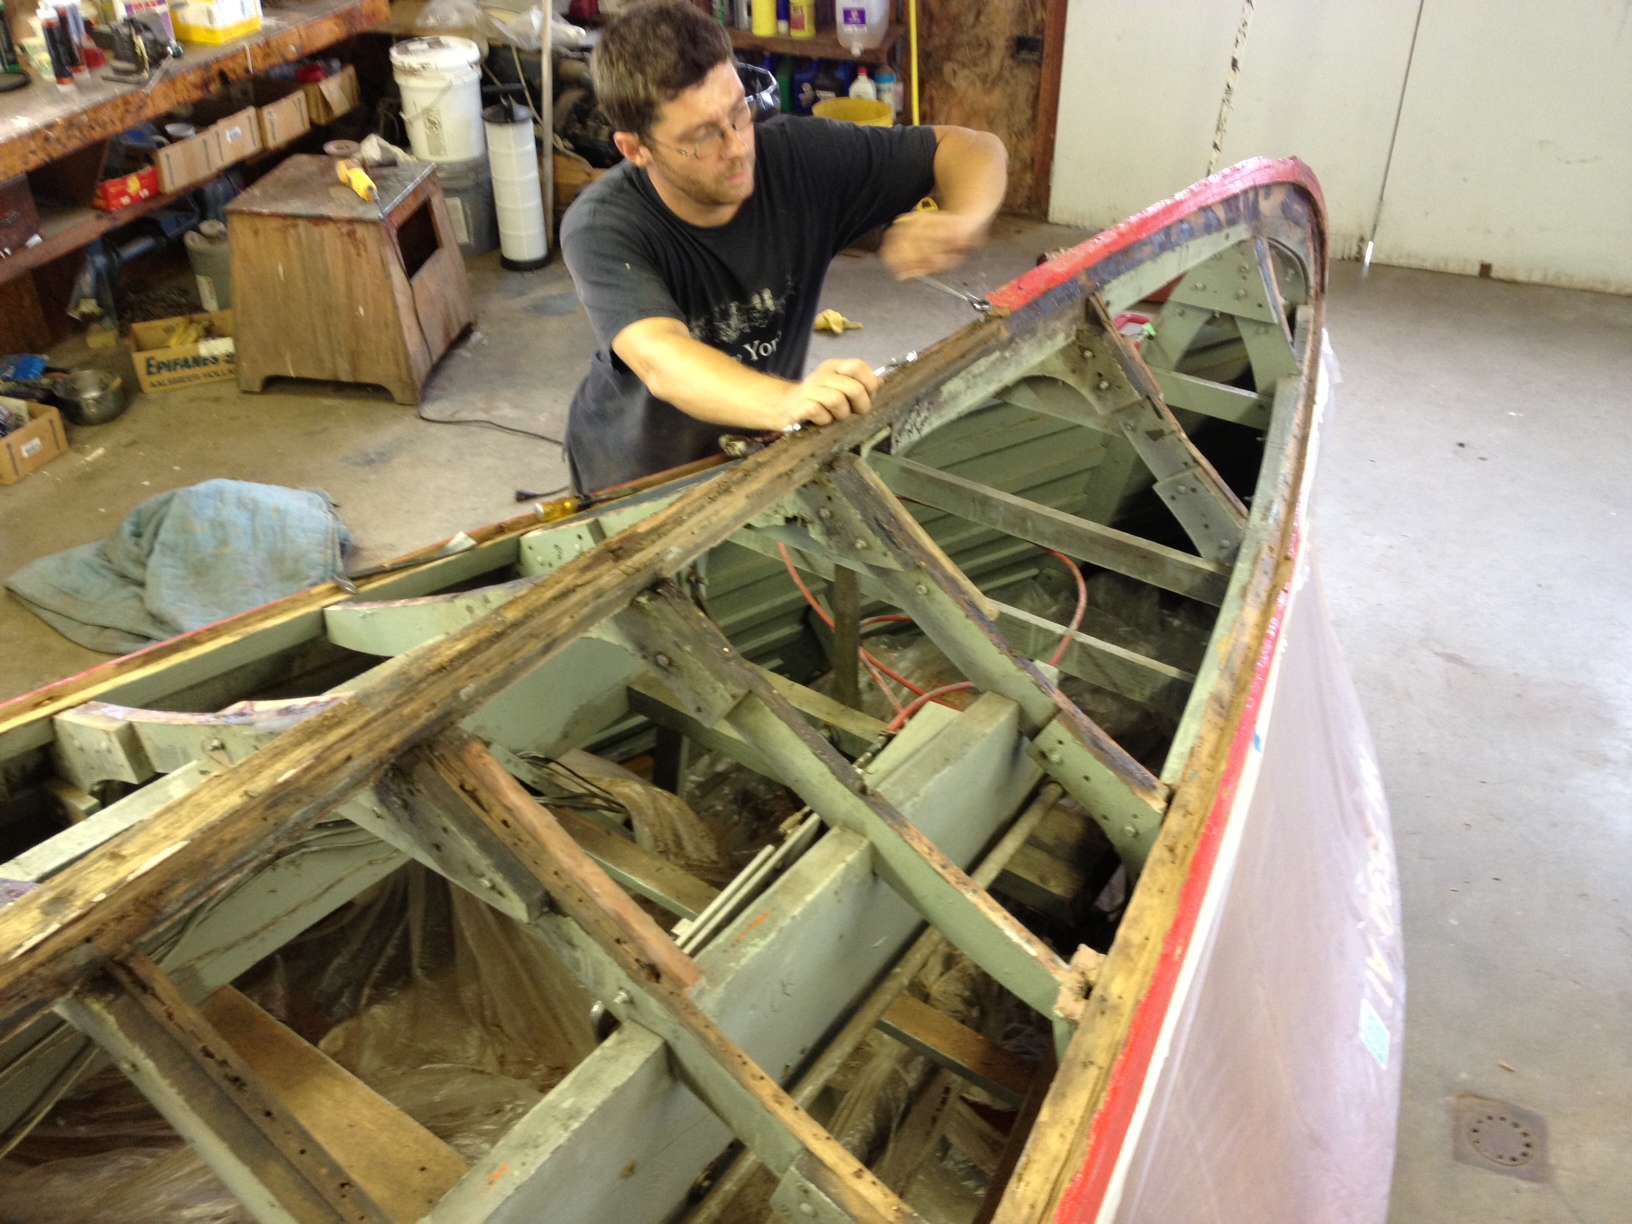
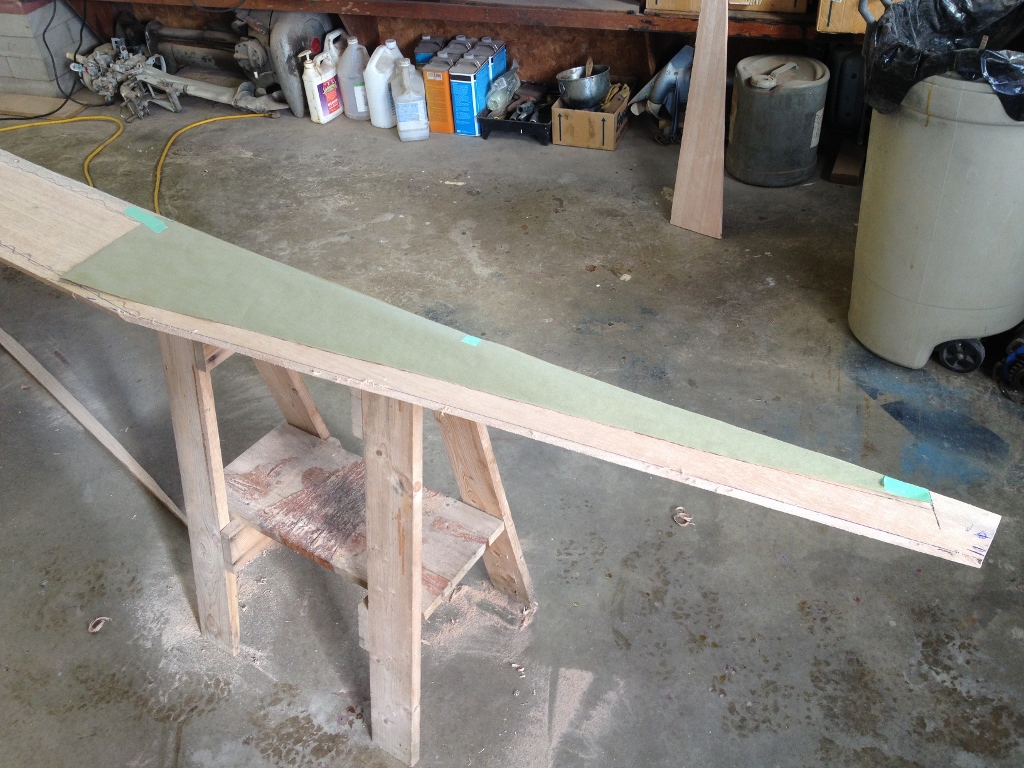
A new keel section was cut, chine sections were replaced, a new stem “cap” was laminated into place, necessary frames were replaced and the final prep work was made before adding the first layer. After installing the first layer of 1/4″ mahogany we then added a layer of Dynel cloth impregnated with epoxy. We then began adding the 1/2″ mahogany planking, starting with the garboards and working our way out, bedding the planks down with Sikaflex 1A.
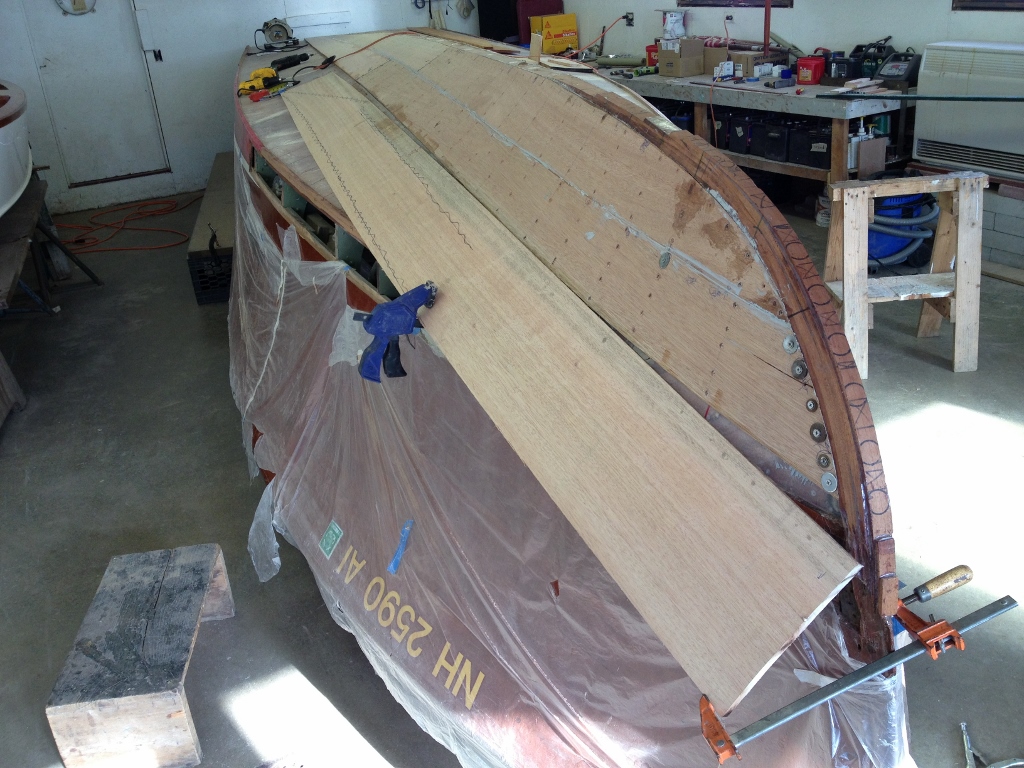
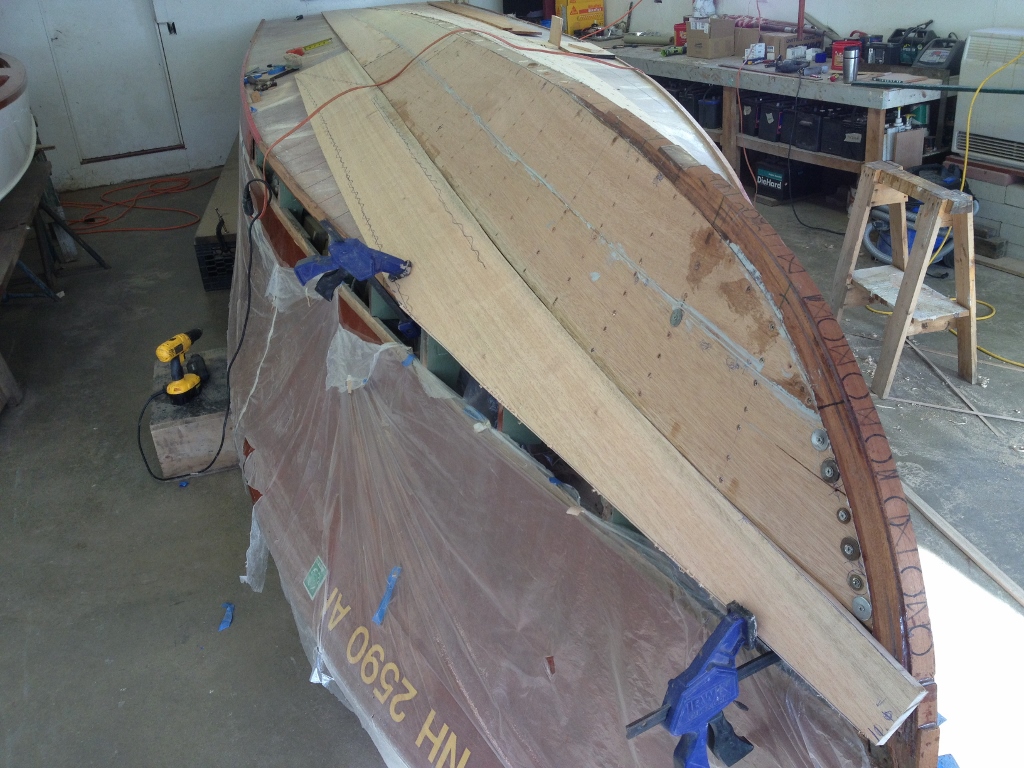


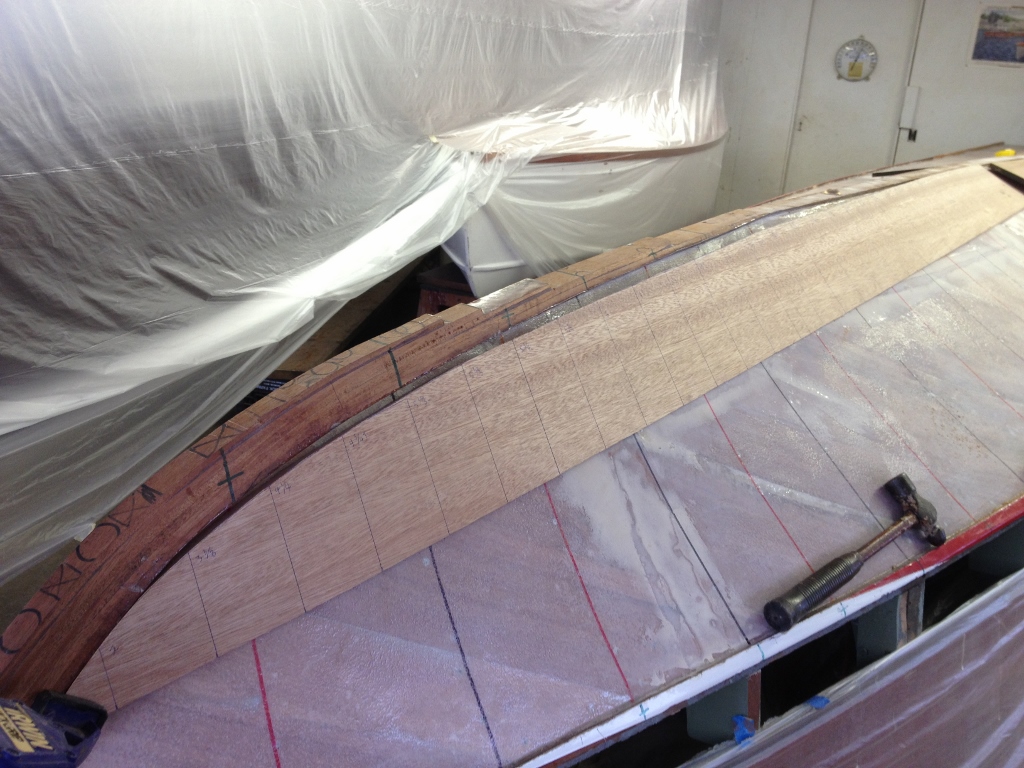
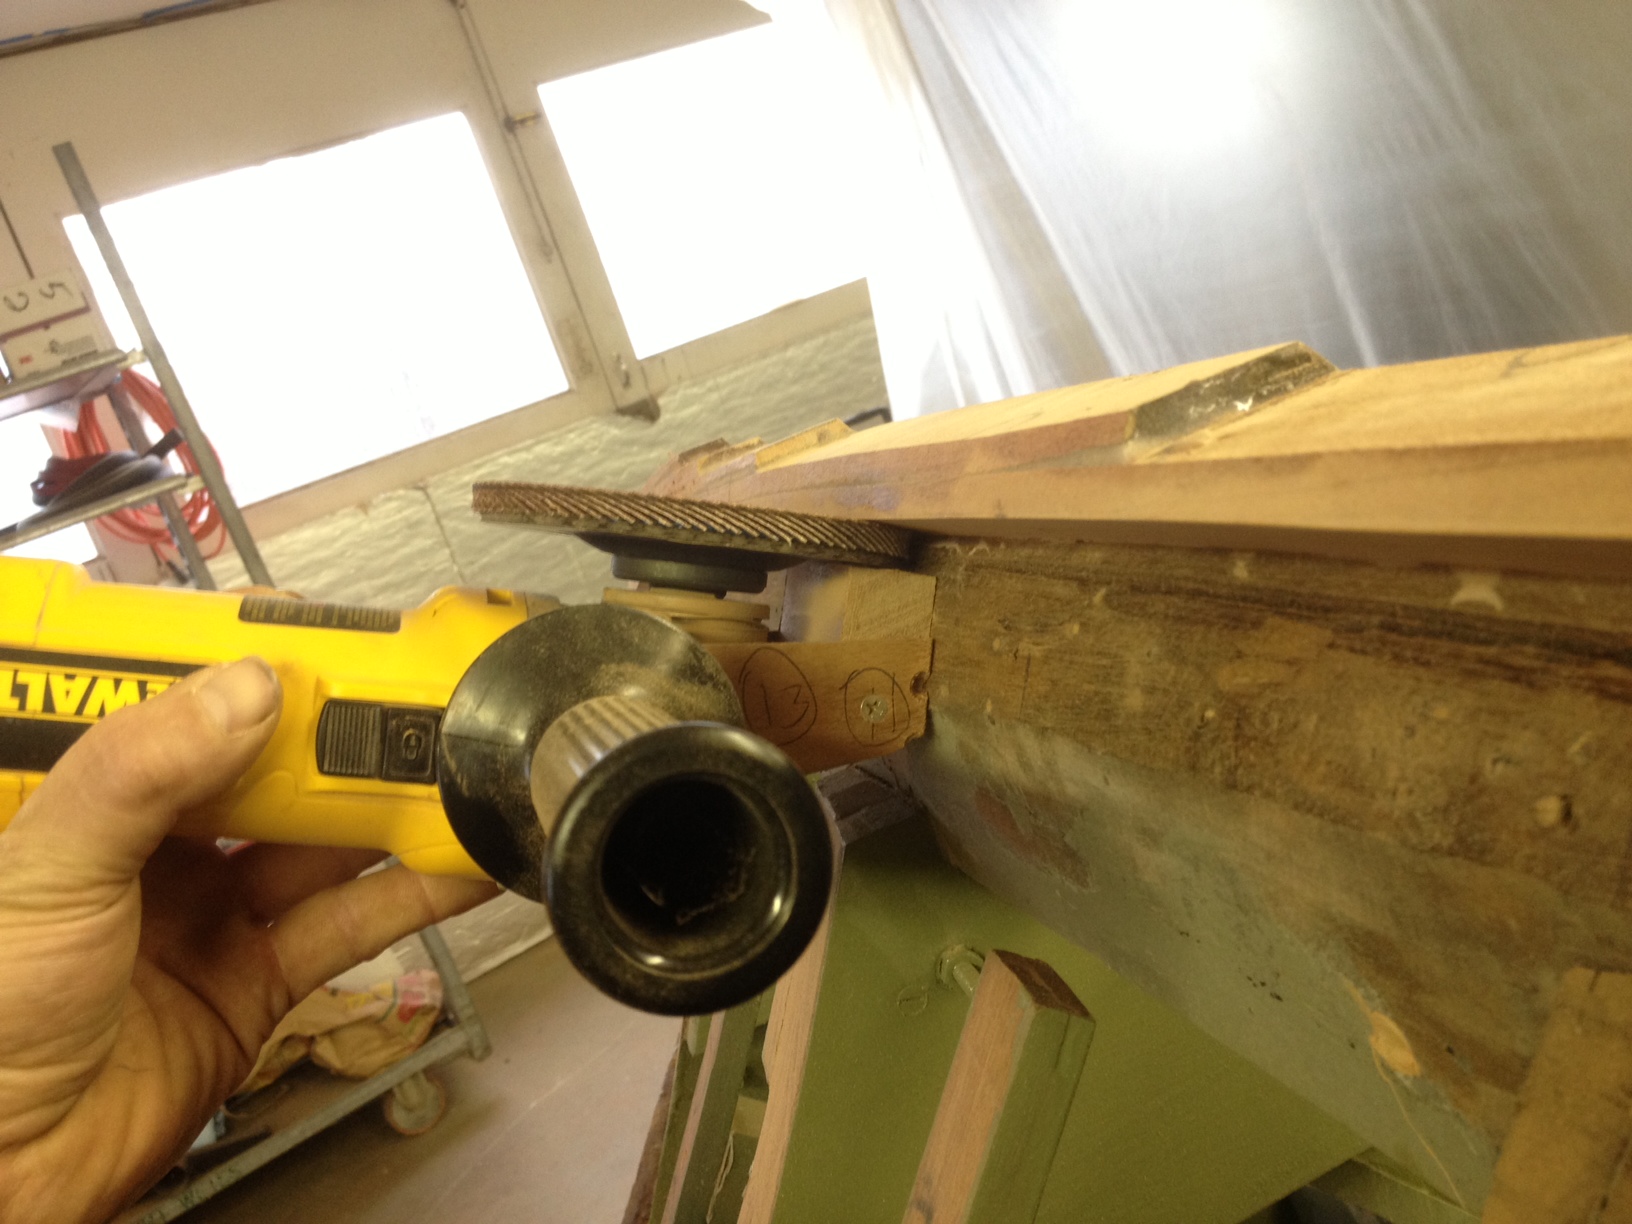
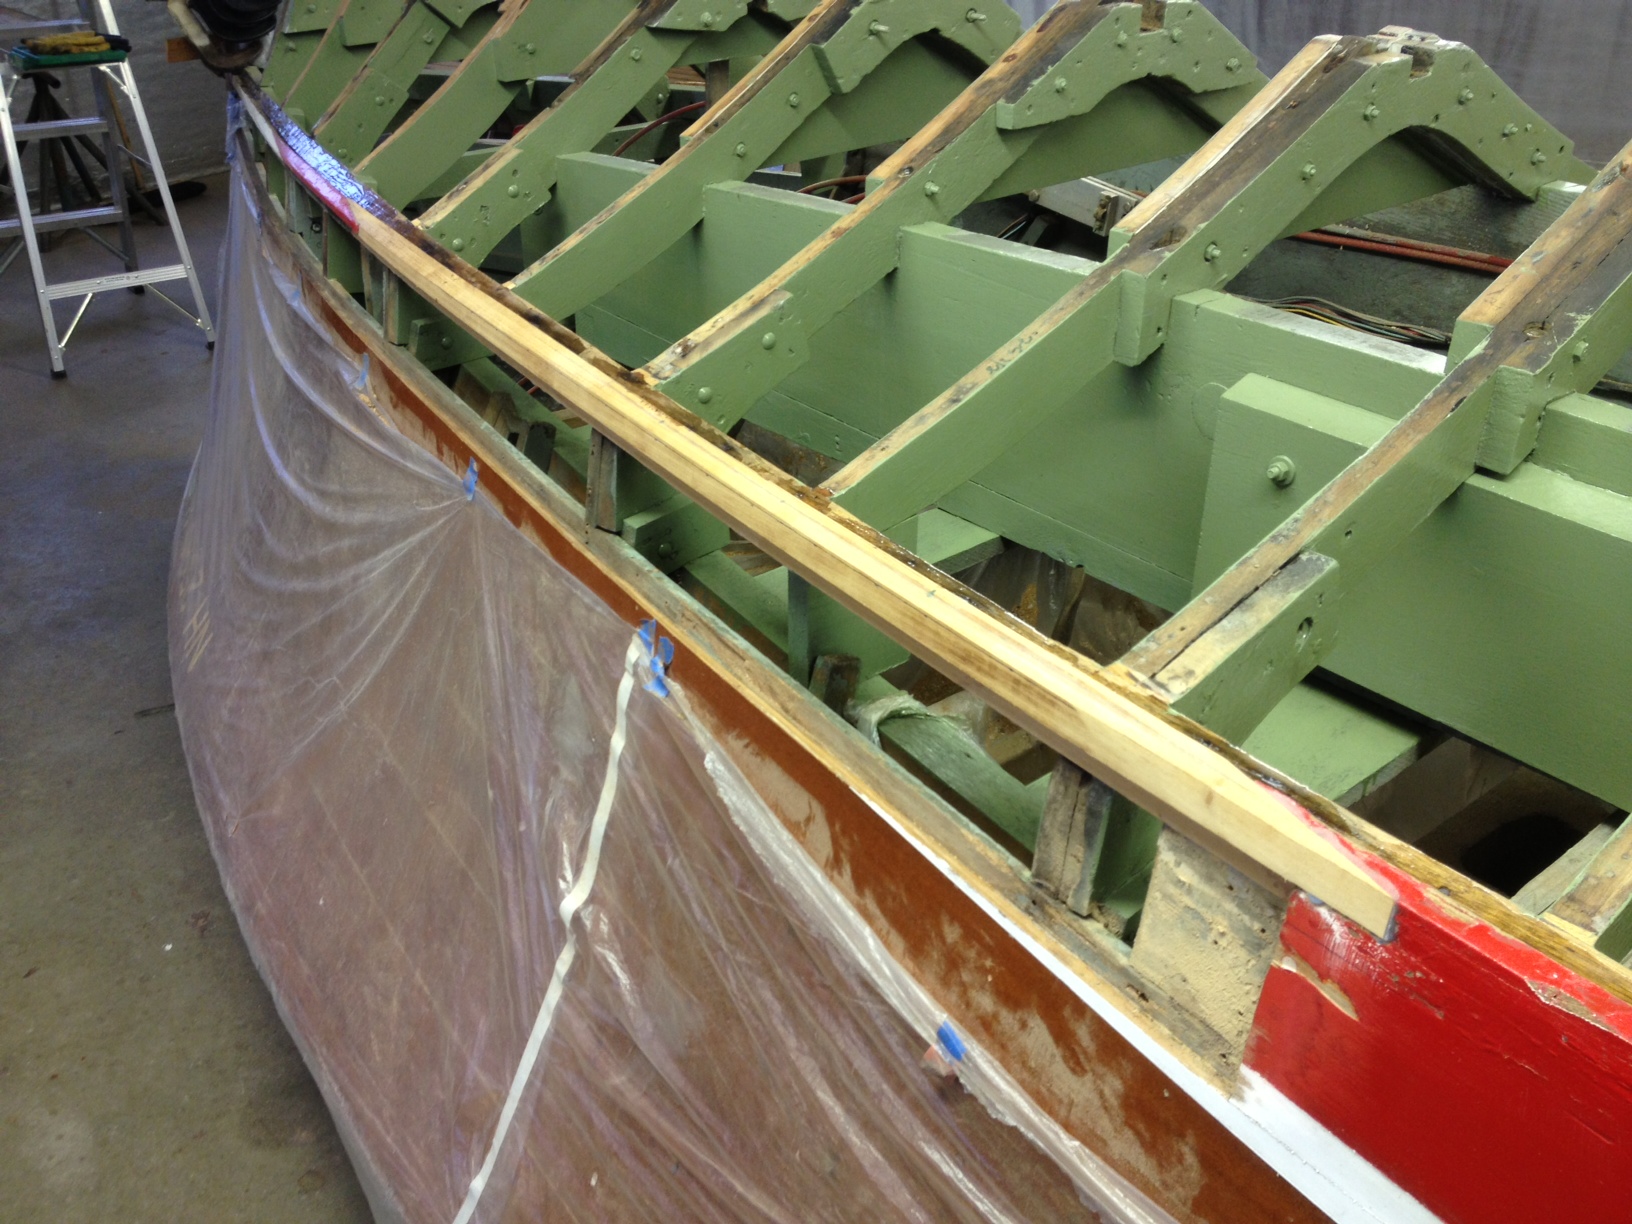
Fitting a forward plank
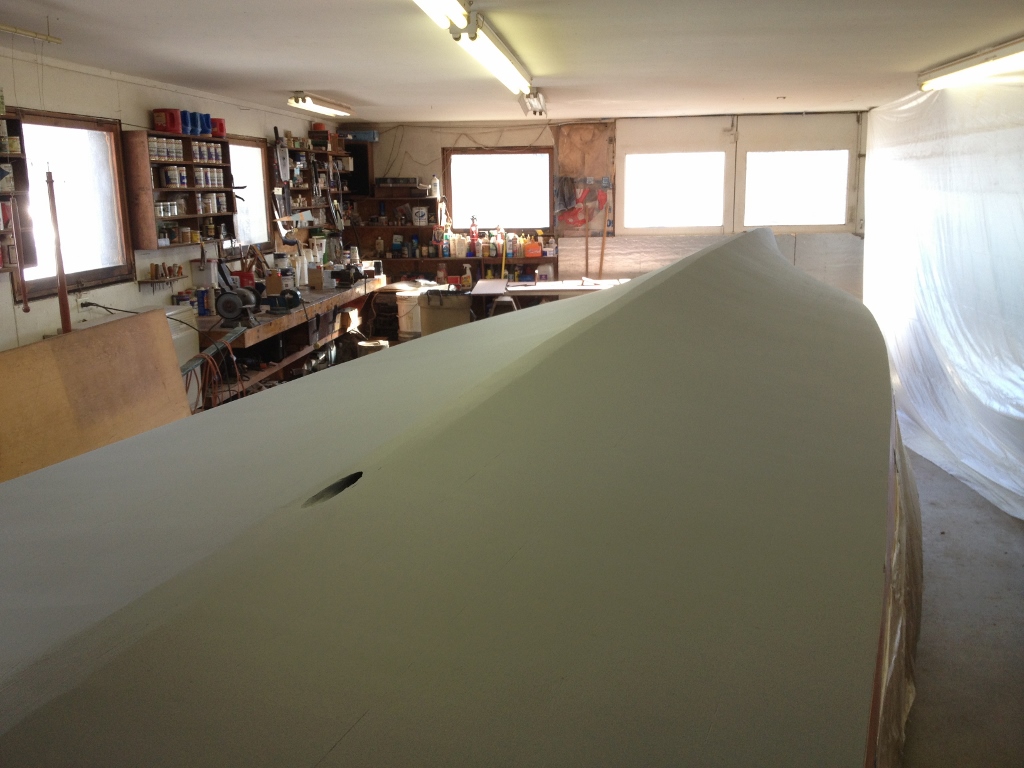
Once the planking was completed we filled, faired, and sealed the wood with epoxy sealer, we were ready for the primer. We used a two-part barrier coat primer and applied four thick coats. Finally we added three coats of Interlux Perfection Rochelle Red 2-part paint, stood back and called the bottom done!
We then turned the boat back over. Next we’ll be replacing the two forward side planks, the transom planks, some paint and varnish followed by final reassembly.
Stay tuned for further updates on this project.